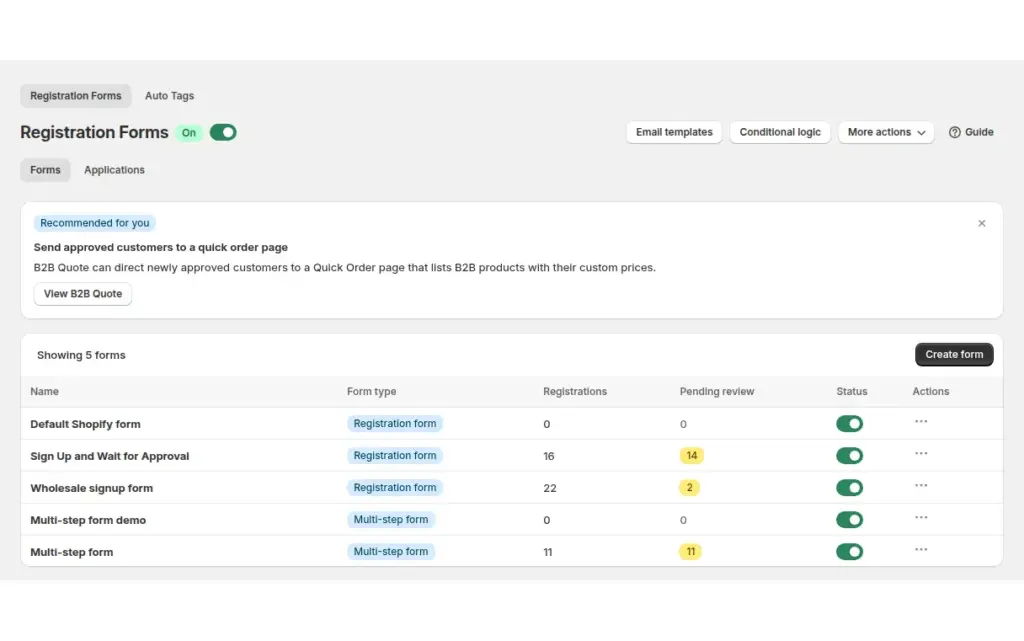
To exempt tax for wholesale buyers who have no VAT number, use one of three routes in BSS B2B Solution: tick Tax Exempt on the applicant in Registration management, untick Collect tax on the customer in Shopify, or switch on Auto Tax-Exempt on a registration form so every buyer you approve through it is exempt. Each route marks the customer, not a single order, so later orders follow the setting.
This page is for distributors and wholesalers who have already decided that certain buyers qualify, for example after checking a resale certificate or another document, and need a clean way to apply that decision. It explains the difference between exempting a customer and exempting an order, how each route works and what to check before you use it.
Who this is for
These routes fit you if:
- Some of your approved buyers cannot enter a number in a VAT box, so a cart-based check does not help them.
- Your team currently edits taxes on orders by hand, or issues refunds after the fact.
- You collect a certificate or other proof on your registration form and review it yourself.
- You sell to a mixed audience and need a dedicated form for the group that qualifies.
- You already have a list of customers you know are exempt and want to mark them in one go.
- You want orders from exempt buyers to carry a tag so your accountant can find them.
Why this matters
A VAT box on the cart only helps buyers who can type a valid number. Buyers who qualify for exemption without one end up paying tax and asking for a refund, or your team edits each order by hand. Both are slow and easy to get wrong, and a wholesale buyer who is charged tax at the cart may well stop at that point.
There is also a question of when you decide. Eligibility is a business decision you make once, when you approve the buyer, not each time they order. Applying that decision at the customer level means it is made at the point where you review documents, and the order process simply follows it. That is more predictable than correcting a tax line order by order.
Consider a distributor of laboratory consumables with a mix of university departments, clinics and private labs. A handful of the departments qualify for an exemption under their local rules, and the sales manager has seen their paperwork. None of them has a VAT number to type. The manager wants those accounts approved and exempt in one step, and every other lab approved at normal tax. A dedicated form for the qualifying group, with automatic tax exemption on approval, does exactly that.
Choosing the route up front keeps the process predictable. A one-off exception stays a one-off, and a wholesale program with a dedicated form can exempt every approved buyer automatically.
What Shopify covers natively, and where an app helps
Shopify lets you mark a single customer as exempt from tax in the admin by unticking Collect tax under Manage tax on the customer record. That is route two below, and it works well for a handful of accounts. The B2B features by plan page in the Shopify Help Center covers companies, catalogs, payment terms and quantity rules; it does not describe an application form that can set tax status when you approve someone.
BSS B2B Solution connects approval and tax: when you approve an applicant, the app creates or updates the Shopify customer, and if the form says so, marks the customer tax exempt in the same step. The tax and compliance hub places this next to VAT validation and tax display.
Customer-level versus order-level exemption
An exemption can apply at two levels, and it helps to know which you are using:
- Order level. The buyer enters a tax ID in the cart and the app removes tax from that purchase only. This is the VAT box, covered in EU VAT exemption with VAT ID validation.
- Customer level. The customer is marked exempt in Shopify, so tax is not collected on their orders. This is what the three routes on this page do.
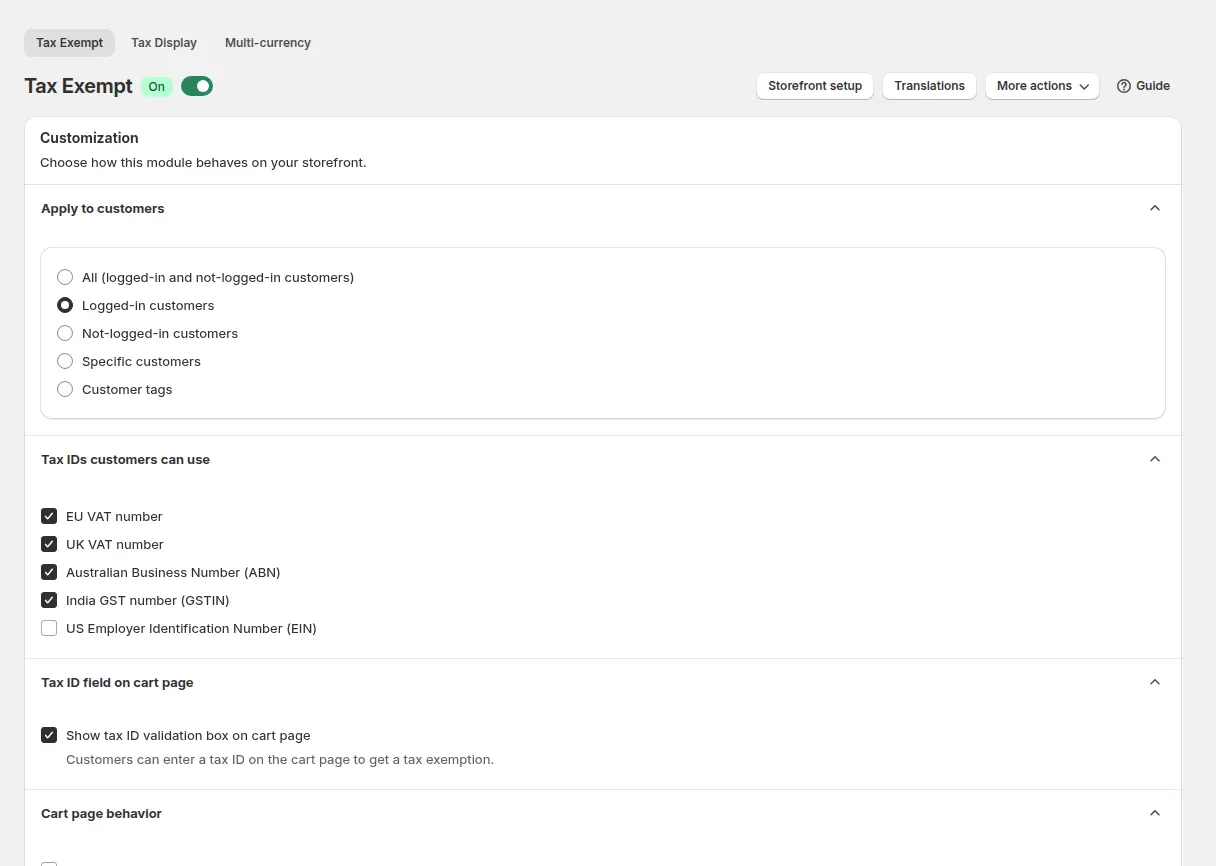
Use the order-level box when buyers have a number you can validate. Use the customer-level routes when you have decided on your own terms that the buyer qualifies.
Which route should I use?
| Route | Best for | Who decides | Scale |
|---|---|---|---|
| 1. Tax Exempt on the applicant | One-off exceptions | You, per applicant, at approval | A few accounts |
| 2. Collect tax in Shopify | Existing customers with a record | You, per customer | A few accounts |
| 3. Auto Tax-Exempt on a form | A whole group that qualifies | You, once, by choosing who gets the form | Every approved buyer on that form |
| Bulk tax exempt | Customers you already know | You, by tag or by customer | Many accounts at once |
How to set it up with BSS B2B Solution
Before you start: collect proof
If you want to see a certificate or another document before you decide, add a file field to your registration form. Applicants can upload files of up to 10 MB each, and you can preview them in a popup viewer in Registration management without downloading them. The form can also carry a company name and tax ID field so you have the buyer’s details in one place.
Route 1: tick Tax Exempt on the applicant
Open Registration management, edit the applicant and, in the Approve/Reject Customer Account section, tick Tax Exempt. Save. Use this for one-off exceptions, because you decide per applicant. On approval the app creates or updates the Shopify customer and, because you ticked the box, marks the customer tax exempt.
Route 2: untick Collect tax in Shopify
In Shopify admin, open the customer, go to Manage tax and untick Collect tax. Save. This is native Shopify and needs no app, which makes it a good fit when you already have a customer record and only a few exceptions.
Route 3: Auto Tax-Exempt on a registration form
Edit the registration form and set Auto Tax-Exempt to Yes. Everyone approved through that form is marked exempt. If only some of your buyers qualify, create a separate form for them so the setting never touches buyers who do not.
Tag buyers when they are approved
Assign a tag on approval, for example tax-exempt-buyer, so other rules can recognise the same group. Pricing, payment terms and lock rules can all read it.

Bulk tax exempt for customers you already know
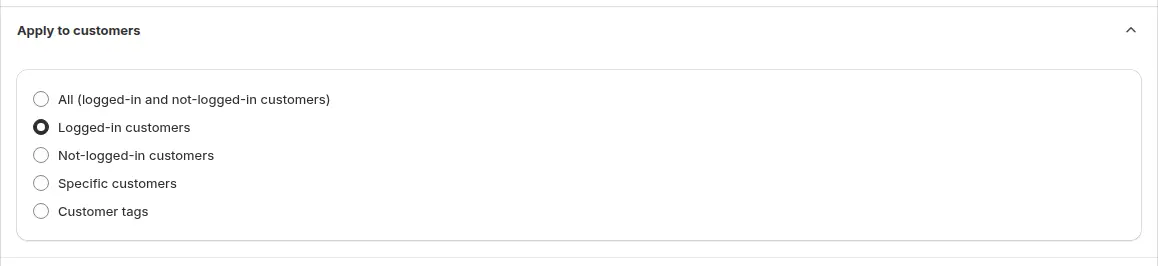
If you start using the app with a list of customers who are already known to be exempt, use Bulk tax exempt in the Tax Exempt module, selected by customer tag or specific customers, and choose who the module applies to.
Tag exempt orders for your bookkeeping
In the Order tag section, add a tag such as tax-exempt so orders from exempt buyers are easy to find in Shopify admin.

Check what the buyer sees
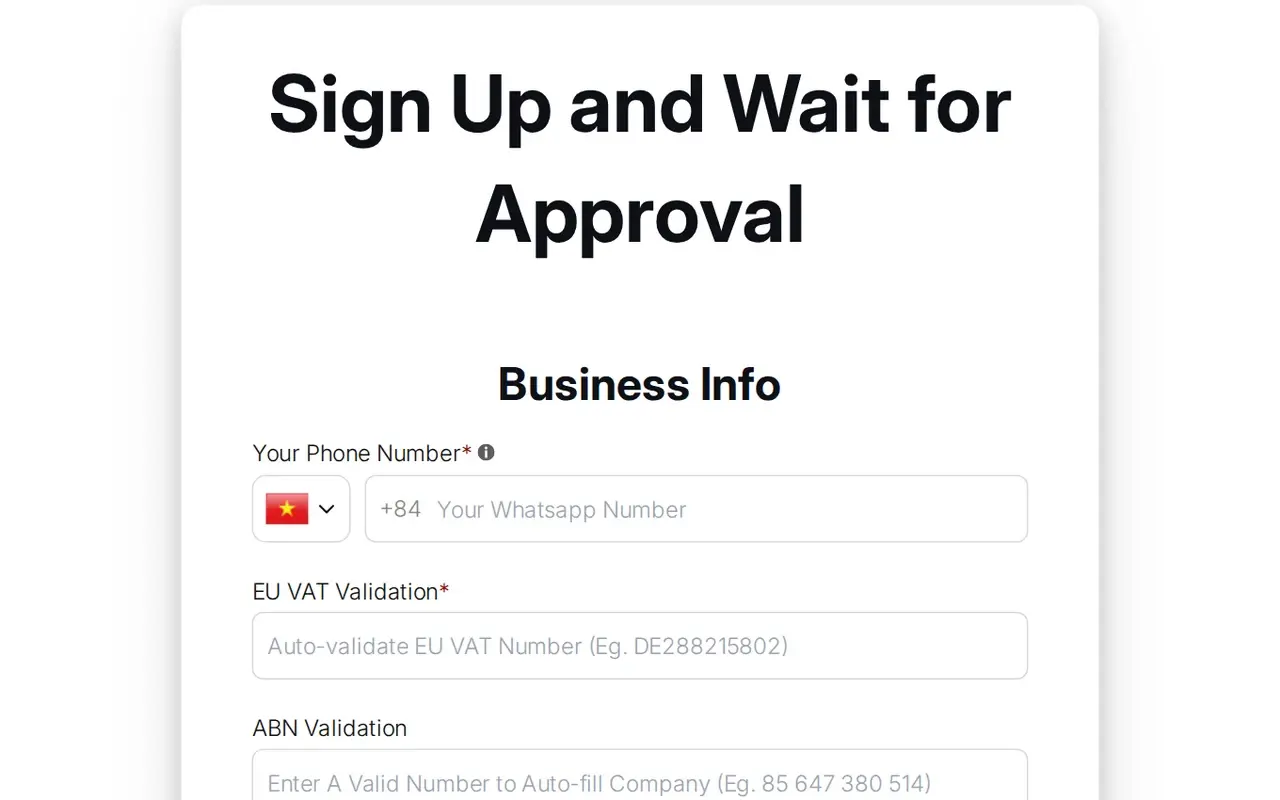
The buyer fills in the form on your storefront; with manual approval the page tells them to wait for approval.
Example
Example for illustration only, not a customer result. The laboratory-consumables distributor creates a form called “Qualifying institutions” with a file upload for the supporting certificate and sets Auto Tax-Exempt to Yes, with the approval tag tax-exempt-buyer. It keeps its standard “Trade signup” form with Auto Tax-Exempt off. A university department applies through the first form, uploads its certificate and is approved by the sales manager after review; the customer is marked exempt and tagged. A private clinic applies through the standard form and is approved at normal tax. An order from the department shows no tax and carries the tax-exempt order tag. The clinic’s order shows tax as usual.
Works well with
- EU VAT exemption with VAT ID validation for buyers who do have a number to validate.
- Onboard tax-exempt buyers with net terms to give approved buyers payment terms too.
- Approve and notify wholesale applicants for the review flow that sets the exemption.
- Wholesale registration form with approval to build the dedicated form.
Glossary: tax exemption, resale certificate and tax ID.
Limits and common mistakes
- The app does not decide eligibility. Check local rules, keep the buyer’s documents and confirm with your accountant before you exempt anyone. Rules differ by country and by type of buyer.
- Auto Tax-Exempt applies to every buyer approved through that form. Use a separate form for a qualifying group.
- Bulk tax exempt cannot be undone from the app. To reverse it, change the customers’ tax setting in Shopify admin.
- Auto Tags can mark new customers exempt with the action Mark customer as tax exempt, but only for customers created after the rule is on, and once per rule. Running a backfill does not exempt existing customers.
- Exemption is not a price change. If you also show prices without tax, add Tax Display separately, because it only changes what the page shows.
- Test the whole path. Approve a test applicant and place a test order to confirm tax is not collected.
Setup checklist
- Decide which buyers qualify and what proof you need.
- Create a separate registration form for the qualifying group, with a file field for the proof.
- Set Auto Tax-Exempt on that form, or use route 1 or route 2 for single exceptions.
- Assign an approval tag so other rules can recognise the group.
- Add an order tag in the Tax Exempt module.
- Use Bulk tax exempt only for customers you are certain about.
- Approve a test applicant and place a test order to confirm tax is not collected.
- Read the how-to guide for each route.
Plans and requirements
Registration forms with auto tax-exempt are available from the Essentials plan of BSS B2B Solution; the Tax Exempt module, with bulk tax exempt and order tags, is on the Advanced and Platinum plans. Plans are $29, $49 and $99 per month for Essentials, Advanced and Platinum, and yearly billing saves 10%. See the pricing page for the full comparison.