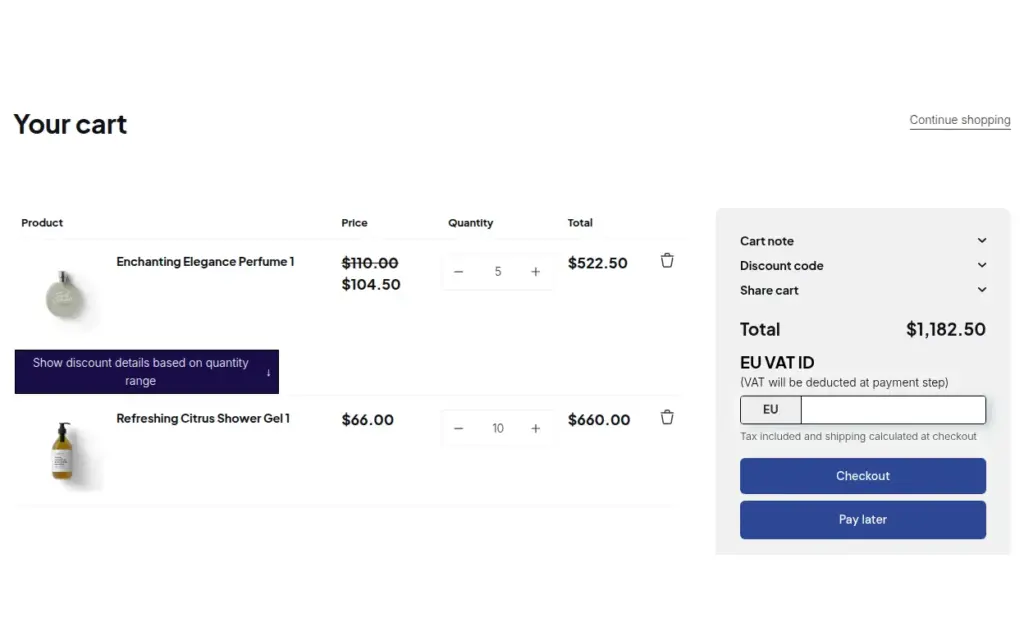
To onboard tax-exempt wholesale buyers who also pay on terms, combine three modules of BSS B2B Solution: a registration form that collects and checks the tax ID, Tax Exempt to pre-fill it in the cart, and Net Terms to offer Pay later. The buyer is verified once at sign-up, and the exemption and the payment terms both apply from the first order.
This page is for manufacturers and wholesalers whose repeat buyers are businesses that expect no tax and an invoice, not a card payment. It shows how the three modules link through one customer tag, what the buyer sees, and the limits you should know before you promise either feature at checkout.
Who this is for
This combination suits you if:
- Your buyers are businesses that hold a tax ID and expect to be invoiced, not to pay by card.
- You sell across borders, so some buyers should not be charged VAT and others should.
- You currently collect tax IDs by email and arrange payment terms by phone or message.
- You want a clean first order, where the buyer does not retype their number or ask for terms.
- You want to see overdue Net Terms orders and filter them by due status.
- You run retail and wholesale on one store, so the box and the Pay later button must reach only the right customers.
Why this matters
A first order is where a new account decides whether you are easy to buy from. If the buyer has to retype a tax ID and then email you to ask for payment terms, you have added two manual steps to the moment that matters most. Your own team pays for it too: someone checks the number, someone adds the exemption, someone creates the invoice and someone chases it.
Two separate setups also make mistakes easy. If tax exemption and payment terms live in different places, it is possible to approve a buyer for terms and forget their exemption, or the other way round. A single tag that both modules read means one decision at approval covers both.
Fusion Body Art, an Australian face paint brand, added a self-service Net Terms checkout, prices without tax for wholesale customers and manual orders for selected accounts on the same store as its retail business. Read the full case study.
Imagine a German packaging manufacturer that sells cartons to food producers in several EU countries. Each producer has a VAT number and expects a 30-day invoice. The manufacturer wants new buyers to apply once, upload nothing more than their tax details, and then reorder without anyone from sales touching the order.
What Shopify covers natively, and where an app helps
Shopify’s built-in B2B includes payment terms for companies; the B2B features by plan page in the Help Center lists companies, locations, catalogs, payment terms and quantity rules, and the Shopify B2B guide compares native B2B with apps. A registration form that checks a tax ID and links the result to terms is not in that list.
BSS B2B Solution connects the pieces by a customer tag. The registration form validates the tax ID and applies the tag on approval; Tax Exempt shows the cart box to that tag; Net Terms offers Pay later to the same tag. The tax and compliance hub and the order rules and terms hub cover each part on its own.
How to set it up with BSS B2B Solution
1. Collect a tax ID on the registration form
Add a tax ID field to your application form (EU VAT, UK VAT, US EIN, Australian ABN or India GST) and publish it. Mark the field required if an invalid number should block the submit. The number is checked live as the applicant types.
2. Tag buyers when you approve them
In the form’s Tags card, set a tag to assign on approval, for example tax-exempt-verified. Everything after this step reads that tag.

3. Show the tax ID box to that tag
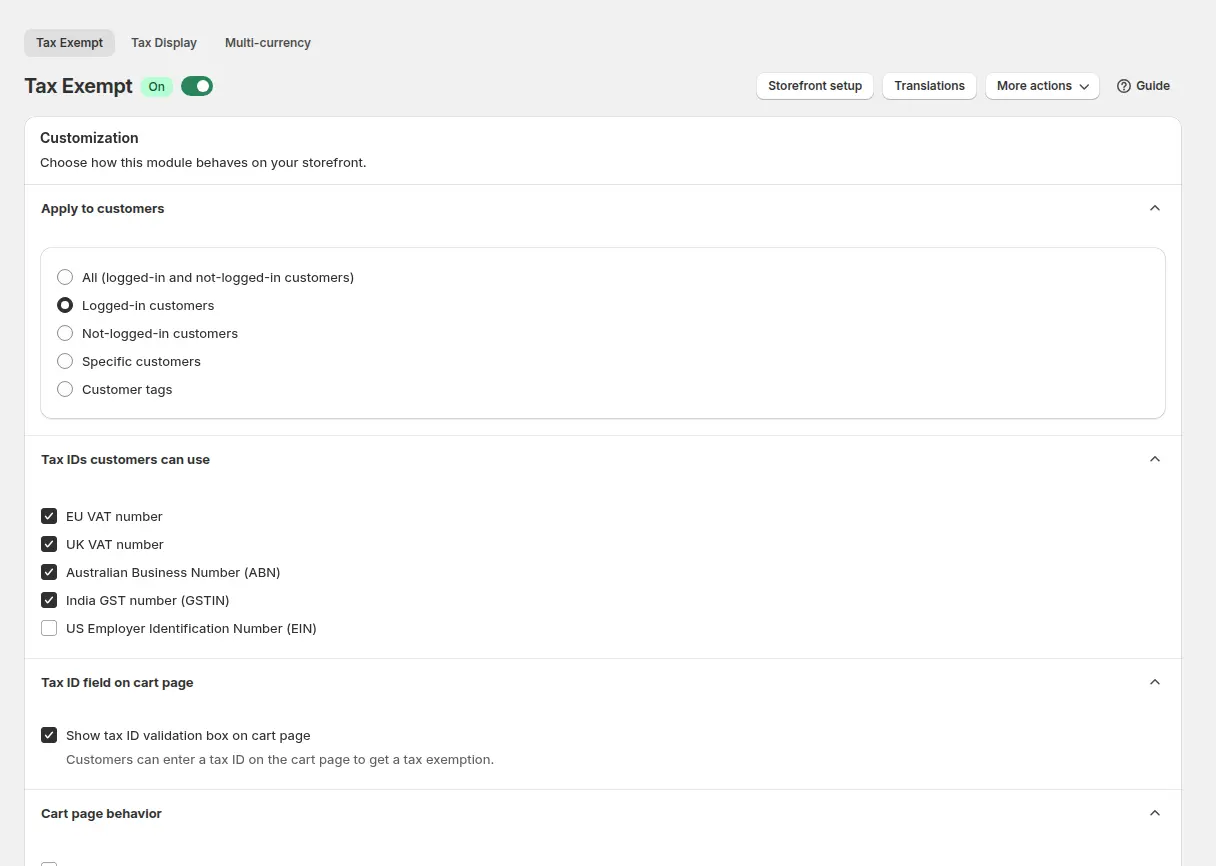
In B2B tax & currency > Tax Exempt, turn the module on and choose to show the box only to customers with the tag. Add the Tax Exempt block to the Cart template in the theme editor. A buyer who entered a tax ID on your form and was approved has the ID saved on their profile, so the cart box is pre-filled when they are logged in.
4. Add a Net Terms rule for the same tag
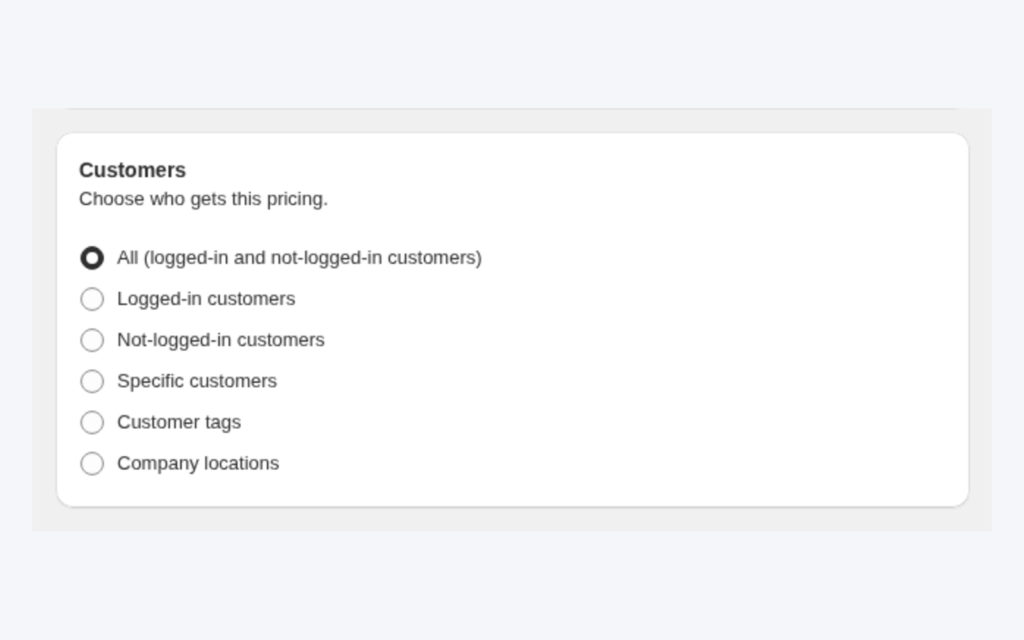
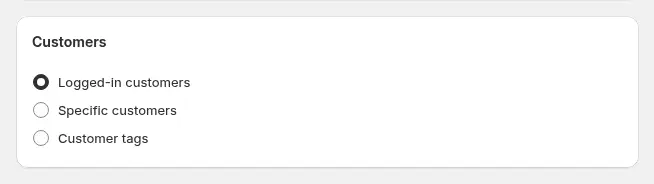
In B2B orders & discounts > Net Terms, add a rule that targets customer tags and enter the same tag. Net Terms works only for logged-in customers, so the customer condition is logged-in customers, specific customers or tags.
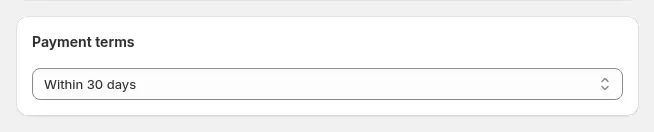
Set the payment terms: due on receipt, due on fulfillment, within 7, 15, 30, 60 or 90 days, end of month variants, a fixed day of the month or a custom period.
5. Add the Pay later button to the cart
The Net Terms button does not appear on its own. On the Net Terms page click Storefront setup and Enable button on Cart page, then add the Net terms block in the theme editor. Without the block the button never appears, even if the rule is active.
6. Approve the applicant and test as the buyer
Approve a test applicant, log in as that customer, add an eligible product to the cart and check that the VAT box is pre-filled and the Pay later button sits below Checkout.
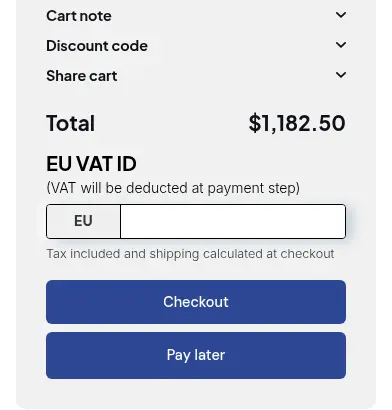
By default a Net Terms order is created as a Shopify draft order that you review. You can change the setting so the order is placed automatically with payment pending.
7. Track what is owed
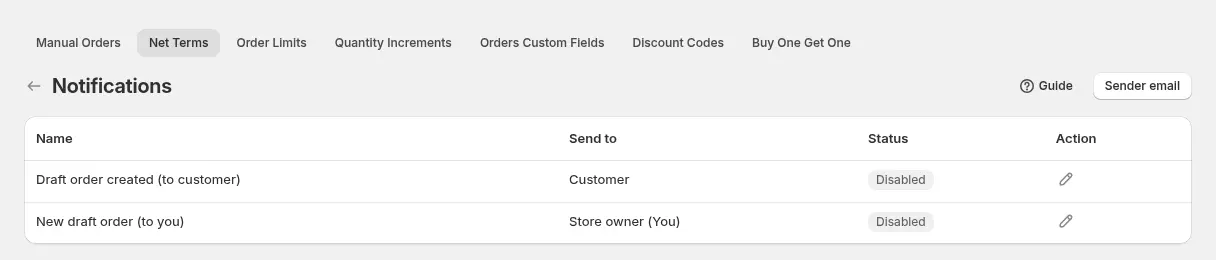
Net Terms keeps its own Order History with each order’s rule name, due date, status and outstanding balance. Search by order number, customer email or name, filter by remaining days (All, Due, Undue, Due on receipt, Due on fulfillment) and export the filtered list to CSV for your accountant. For draft orders you can also switch on the two Net Terms emails, one to the customer and one to you; for orders that are placed automatically, Shopify’s own order emails are used instead.
How the three modules share one tag
The flow is easy to remember as a chain with one link in the middle:
- The buyer applies, and the form validates the tax ID.
- You approve, and the tag is added to the Shopify customer.
- Tax Exempt reads the tag to decide who sees the cart box.
- Net Terms reads the same tag to decide who is offered Pay later.
- The order that results keeps the exemption and gets a due date.
If something is missing for a buyer, start with the tag. A buyer without it sees neither the box nor the button, and a tag spelled differently in two modules splits the group in two.
Example
Example for illustration only, not a customer result. The packaging manufacturer’s registration form has a required EU VAT field and assigns the tag tax-exempt-verified on approval. Its Tax Exempt module shows the cart box to that tag, and its Net Terms rule gives the same tag “Within 30 days”, with a minimum order amount of €500. A food producer in another EU country applies with its VAT number, which validates as the applicant types, and is approved. At its first order the producer logs in, sees the number already in the cart box, confirms it and clicks Pay later. The order carries the exemption and is created with a due date 30 days later; if it was placed on October 14, it is due on November 13. A sales assistant reviews the draft order and converts it, and filters Net Terms Order History by the Due status each Monday to find overdue invoices.
Works well with
- Net 30 payment terms for wholesale buyers for the payment side on its own.
- EU VAT exemption with VAT ID validation for the tax side on its own.
- Verify business tax ID at registration for the form side.
- Approve and notify wholesale applicants for the review flow that applies the tag.
Glossary: net terms, tax exemption and tax ID.
Limits and common mistakes
- Net Terms has no credit limit. Approve accounts carefully, and use the optional order limit in the rule if you want a floor or ceiling per order. Review overdue orders in Net Terms Order History.
- Tax exemption is applied per order, from the cart. The tax box is on the cart page, not in Shopify checkout. A buyer who opens the Shopify checkout URL directly skips the box and Pay later and is taxed normally.
- Logged-in customers only. Guests never see Pay later. If the button is missing, check the tag, the products in the cart and the Net terms block first.
- Eligible products only. If the cart contains products the rule does not cover, the app lists them and blocks the Net Terms checkout until the cart is updated.
- Newest storefront version. Tax Exempt and Net Terms are not available on the newest storefront version (v4), so check which version your store uses.
- Eligibility is your decision. A valid number is not a tax-authority ruling. Confirm local rules with your accountant.
Setup checklist
- Add a tax ID field to the registration form and publish it.
- Set the approval tag and use the same spelling in every module.
- Turn on Tax Exempt, add its block to the cart and show the box to the tag.
- Create a Net Terms rule for the tag with payment terms and an optional order limit.
- Enable the Pay later button on the cart through Storefront setup.
- Decide whether Net Terms orders are drafts for review or placed automatically.
- Approve a test buyer, place a test order and check the due date in Order History.
- Follow the onboarding guide for every field.
Plans and requirements
Tax Exempt and Net Terms are available on the Advanced and Platinum plans of BSS B2B Solution ($49 and $99 per month, with yearly billing saving 10%), and a US EIN field needs Platinum. See the pricing page for the full comparison, then install BSS B2B Solution from the Shopify App Store.