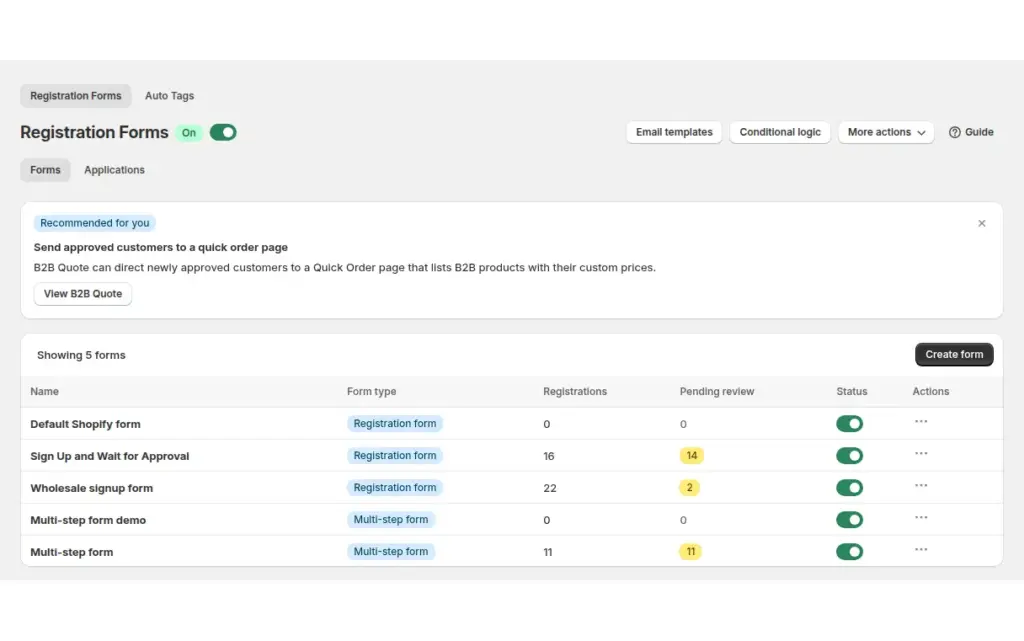
To approve and notify wholesale applicants on Shopify, use BSS B2B Solution registration forms: every submission becomes an applicant record in one list, you approve or reject it with a click, and the app emails the applicant and tags the customer for you.
This page is for wholesalers, manufacturers and distributors who get applications by form, email or spreadsheet and want a repeatable review process. Done well, a good retailer hears back quickly, an approved buyer sees wholesale prices straight away, and your team stops chasing the same applicants twice.
Who this is for
You will get the most out of this setup if one or more of these sound familiar:
- You review wholesale applications by hand and keep notes in an inbox, a spreadsheet or a chat thread.
- Approved buyers sometimes email you to say they still see retail prices, because nobody added the tag.
- You sell through a mix of channels, so different people on your team need to approve, reject or look up an application.
- You want pre-verified partners to get in at once while unknown companies wait for review.
- You collect documents such as a business licence or resale certificate and want to open them without leaving the app.
- You need a record of which email went to which applicant.
Why this matters
Slow or silent approval costs you accounts. A retailer who applies on Monday and hears nothing by Friday may already be buying from another supplier. A rejected applicant who never gets an answer becomes a support email. And a manual process hides quiet mistakes: the customer is approved in one place but never tagged in another, so the wholesale price never appears and the first order arrives at retail margin.
Think about a hardware manufacturer that sells through independent shops. Each shop sends a trade licence and a delivery address. If the owner approves them from a spreadsheet, someone still has to create the Shopify customer, add the wholesale tag, set the phone number and write the welcome email. Each of those steps is a place to forget something. Keeping approval, tagging and notification in one flow means the decision you make is the only step you have to remember.
For the buyer, speed and clarity matter too. A buyer who submits a form should see what happens next (a page that says the application is under review) and then receive a clear answer by email. That small exchange is often the first impression of your wholesale program.
What Shopify covers natively, and where an app helps
Shopify’s built-in B2B lets you create companies and locations in the admin yourself, then attach catalogs, payment terms and quantity rules. The B2B features by plan page in the Shopify Help Center does not list a public application form with an approval queue, which is the part this use case is about. The Shopify B2B guide compares what is native and what an app adds in more detail.
BSS B2B Solution fills that gap with a registration form that anyone can find on your storefront, an applicant list with statuses, one-click or bulk decisions, email templates and a tag that is applied on approval. The tag is what the rest of the stack reads: pricing rules, lock rules and payment terms can all target it. If you want the full picture of onboarding, the customer onboarding hub links every related guide.
How to set it up with BSS B2B Solution
1. Create the form and choose how accounts are approved
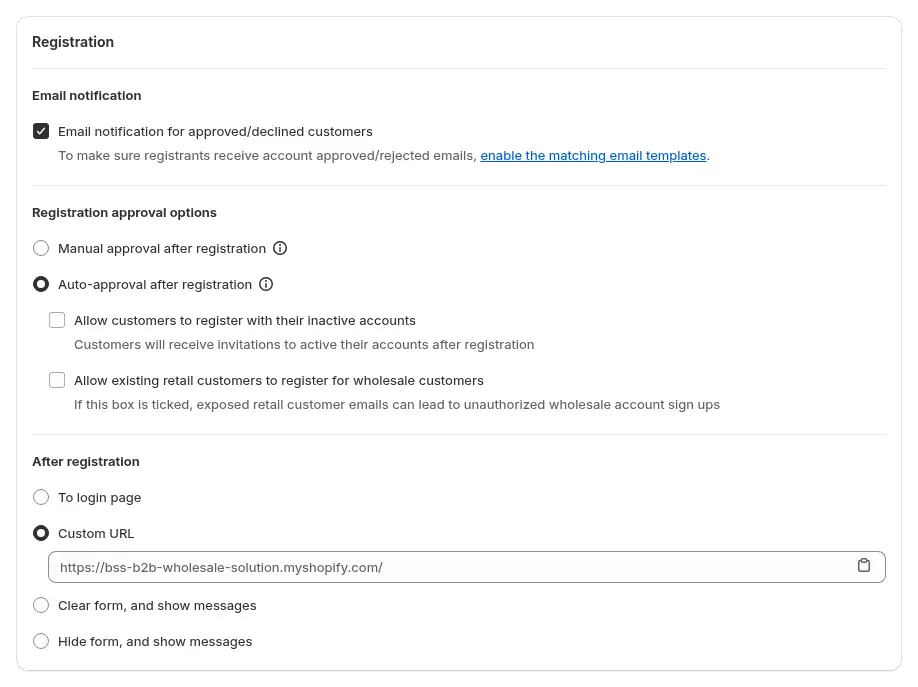
Create the wholesale form under B2B Customers > Registration Forms. In the Registration card you choose how approval works: manual, automatic, or manual with an Auto approve if email contains rule for domains you already trust. Turn on Email notification for approved/declined customers here as well, because the approval and rejection emails only send when that switch is on and the matching template is active.
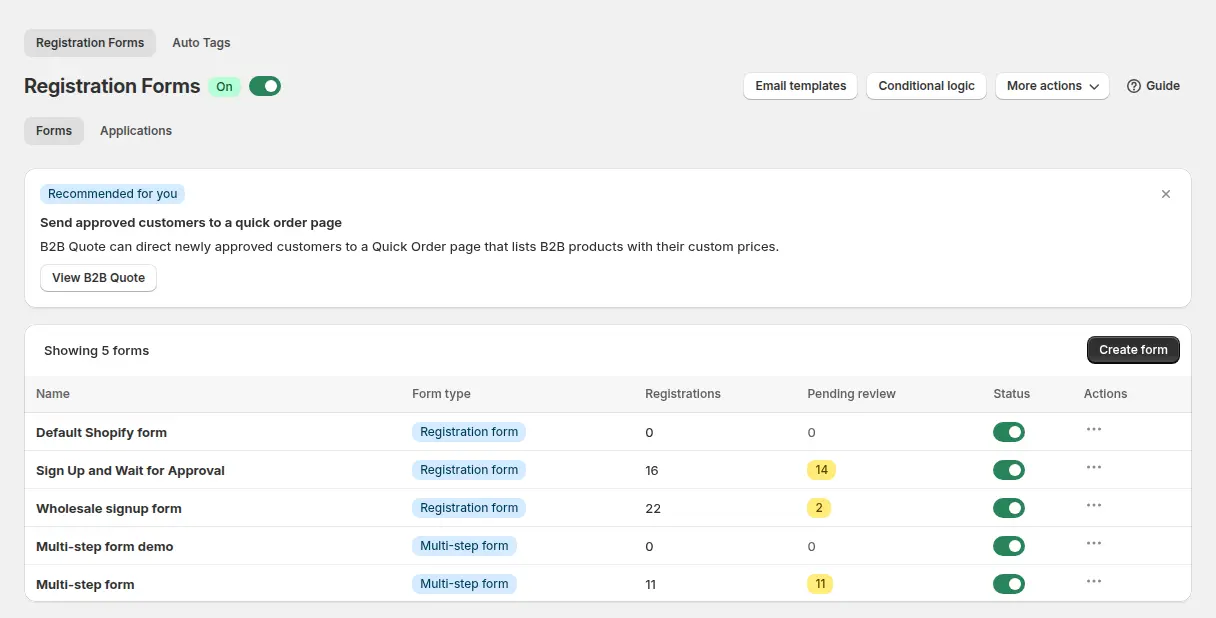
The form list shows every form with its registrations and a Pending review count, which is a handy place to start each morning.
2. Decide what the applicant sees after submitting
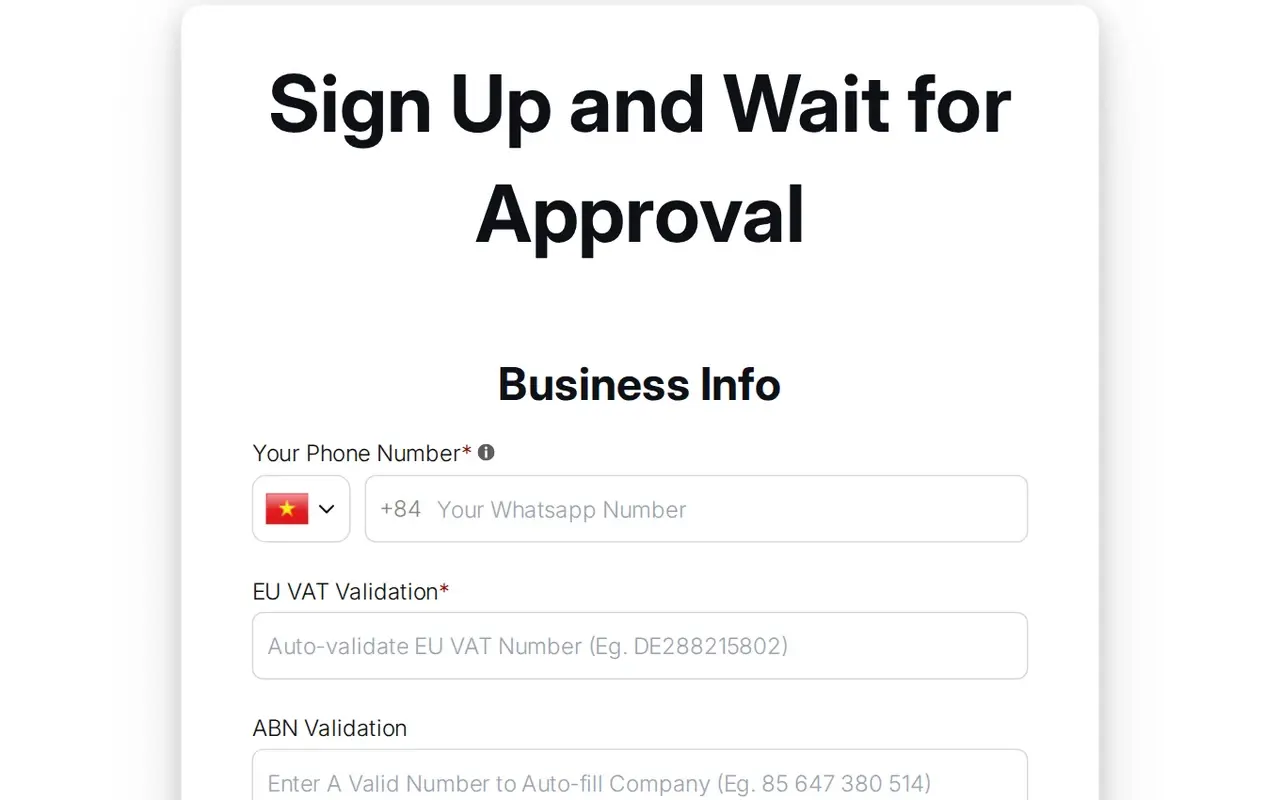
Under the form settings you can redirect the applicant to a custom URL, the login page, or show a message on the page itself. For manual approval, a message such as “Thanks, we review applications within your stated timeframe” sets expectations. Avoid promising a specific number of days unless your team can keep it.
3. Add the tag that unlocks wholesale access
In the Tags card, enter the customer tag to assign when the customer is approved, for example wholesale. The app applies it when it creates or updates the Shopify customer. Custom Pricing, Price List, Net Terms, Tax Exempt and BSS B2B Lock rules can then target the same tag. If you want tags based on what a customer later buys, see auto-tagging by spend and orders.

4. Review each submission in Registration management
Open Registration management to see all submissions. Every record has one of five statuses:
- Pending: waiting for your decision; the customer has no wholesale access yet.
- Approved: the customer gets wholesale pricing and B2B features.
- Rejected: you declined the application.
- Restricted: approved before, but access is now switched off. Use Disable this customer in the row menu when you may want to restore the buyer later, for example after overdue payments.
- Deleted: the registration record was removed.
You can filter by status, name, email, tags or a created-at date range, show 25, 50 or 100 rows per page, preview uploaded files in a popup viewer and export the list to CSV or Excel. Before you decide, you can open a record and correct a field, such as a typo in an email address or a company name. The detail view also tells you whether a Shopify customer with that email already exists, in which case approval updates that customer instead of creating a new one.
5. Approve, reject or bulk-process
Click Approve or Reject on a record. On approval the app creates or updates the Shopify customer, applies the form tags, marks the customer tax exempt if the form says so, saves custom fields as customer metafields, saves the phone number as the customer’s primary phone and sends the approved email. If Shopify refuses an address, you see the reason and can retry.
For a backlog, select the table header checkbox, choose Select all matching this filter and run Bulk Approve or Bulk Reject. The job runs in the background with a progress banner, you can cancel part-way, and a failed row appears in a downloadable error CSV.
You can also decide from the admin notification email. Turn on Actions in email and add Approve/reject customer; the button opens a review page where you decide without logging in, and Link expiration controls how long the link works.
6. Customise the emails and the sender
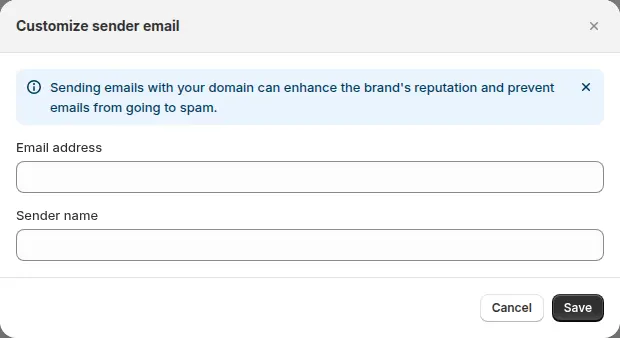
The app has five templates: new customer registered (to you), account pending, account approved, account activation (when the customer must set a password) and account rejected. Edit the wording so it sounds like your brand, and send them from your own address and sender name.
7. Confirm what was sent
Open Email history to see every send with its template, recipient, sender and status. Filter by recipient to answer “did this applicant get the email?” in seconds.
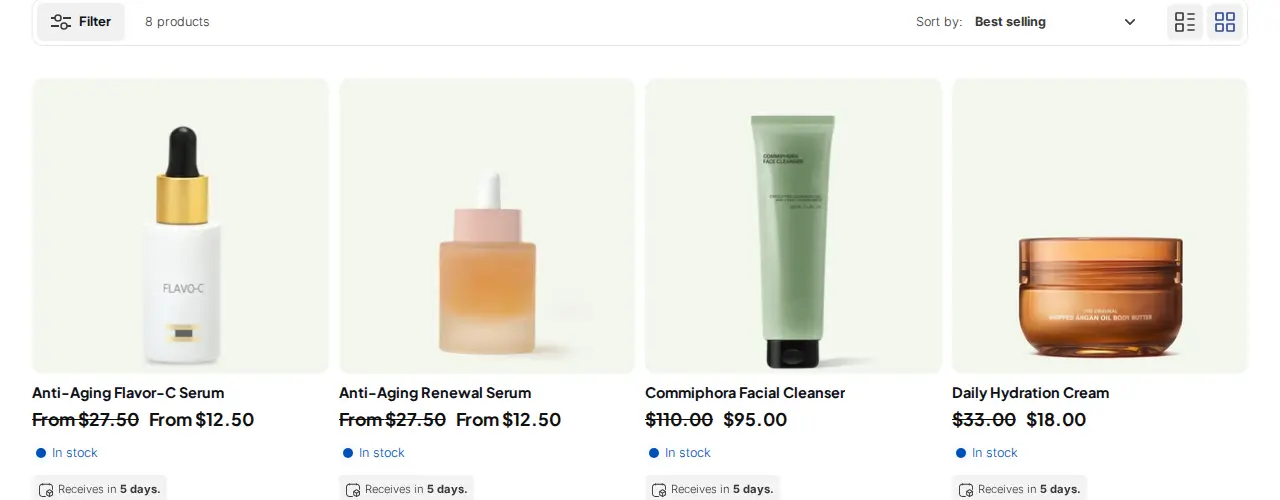
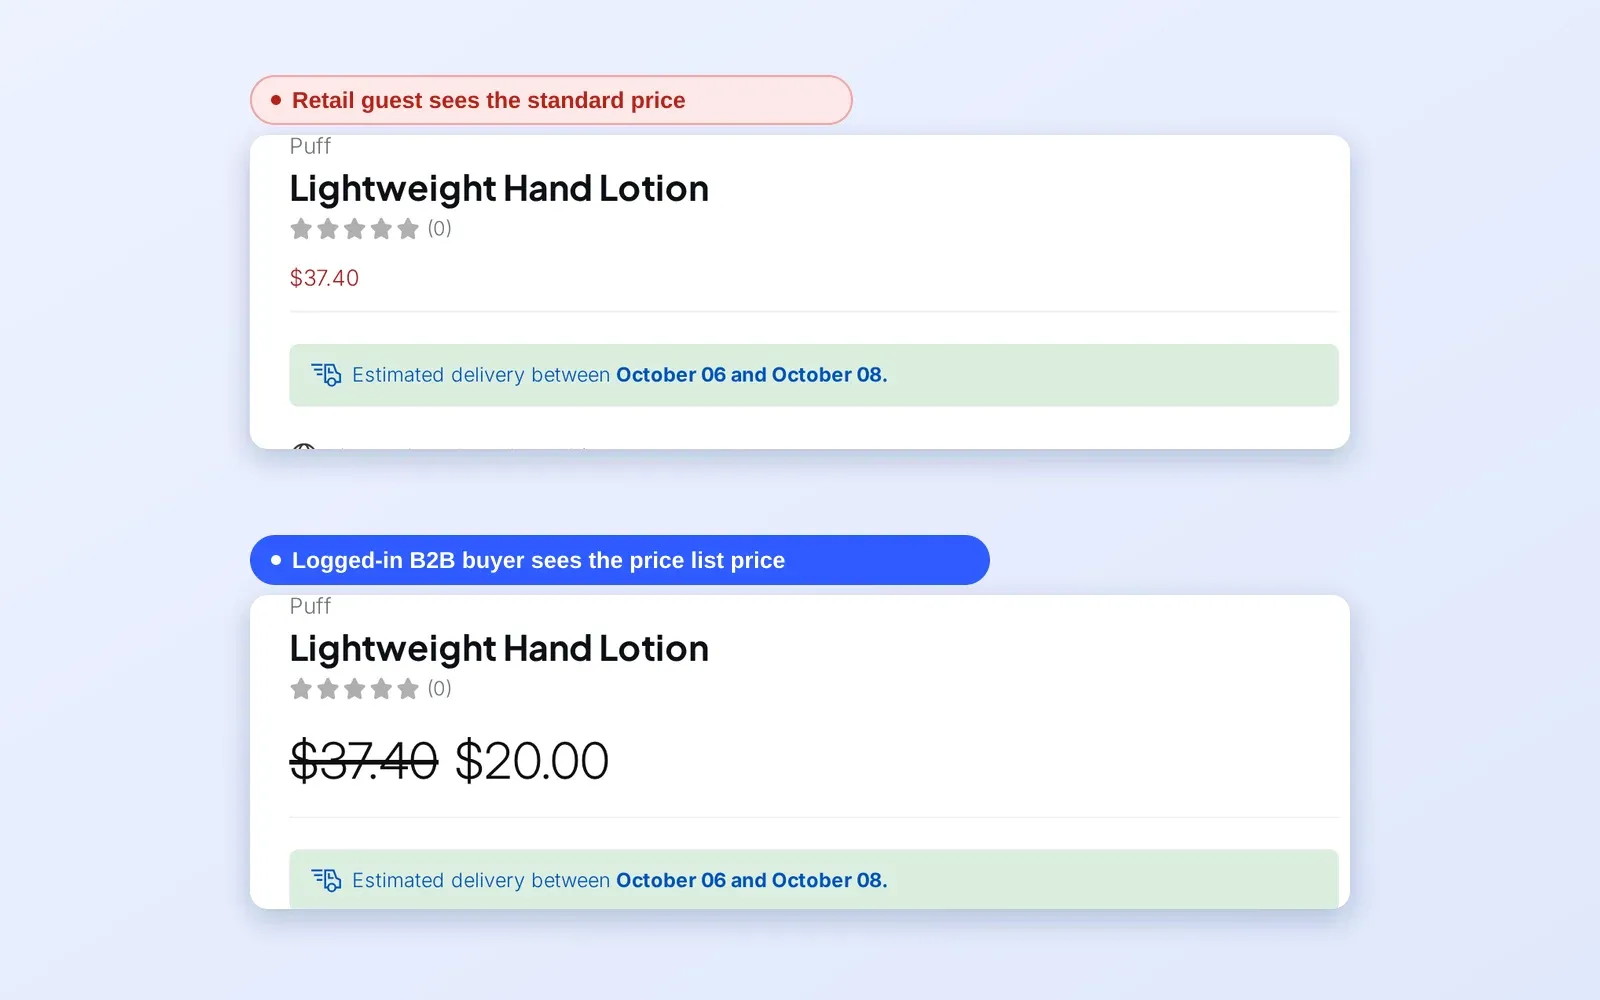
Once approved and tagged, the buyer sees wholesale prices on the storefront.
Example
Example for illustration only, not a customer result. A tea importer receives 30 applications in a week. Twelve come from two partner chains whose staff all use the same company email domain, so the owner adds an Auto approve if email contains rule for that domain. Those twelve are approved and tagged immediately. The other eighteen land as Pending. The owner opens the list on Monday, filters by status, previews each uploaded licence, rejects three that are not businesses and approves fifteen in one Bulk Approve run. Each applicant gets the matching email, and Email history shows all thirty messages. The owner reviewed only the eighteen that needed judgement.
Works well with
- Wholesale registration form with approval for building the form that feeds this list.
- Multi-step registration form when your application is long.
- Verify business tax ID at registration to check VAT, EIN, ABN or GST numbers before you approve.
- Auto-tag customers by spend and orders to promote buyers to higher tiers later.
In the glossary, see customer tag, trade account and tax ID. The customer onboarding hub collects the whole workflow, and the BSS B2B Lock app can unlock hidden prices and collections for the same tag.
Limits and common mistakes
- Auto-approve is a plain text match. The match is case-sensitive and not trimmed, and it grants access immediately. Test with a real address and keep the rule narrow.
- The same email cannot register twice, whatever the status of the first application. Reject carefully, and use the setting that lets existing retail customers register if they already have an account.
- Sent is not delivered. In Email history, Sent means the mail service accepted the message. The app does not receive delivery or bounce reports, so if someone says nothing arrived, check spam filters and your sender domain.
- Emails depend on two switches. The approval and rejection emails need the template active and the form’s email notification setting on.
- Existing customers are not imported. Customers who already exist in Shopify, or in the Registered Customers list, are not imported into the applicant list.
- No Shopify company is created. Approval creates or updates a Shopify customer and applies tags; it does not create a native Shopify company.
Setup checklist
- Publish a registration form and decide manual, automatic or domain-based approval.
- Turn on email notification for approved and declined customers.
- Enter the tag to assign on approval, and point your pricing and lock rules at it.
- Edit the five email templates and set your own sender address.
- Test the whole flow with your own address: submit, pending email, approve, approved email, price check.
- Add the approve/reject action to the admin notification email if you review from your inbox.
- Pick a weekly rhythm for the Pending review queue and who owns it.
- Read the step-by-step guide and the Email History guide.
Plans and requirements
BSS B2B Solution is the core app and has a Free plan plus paid plans (Essentials $29, Advanced $49 and Platinum $99 per month, with yearly billing saving 10%). The Free plan includes one registration form; multi-step forms need a paid plan. See the pricing page for what each plan includes, then install BSS B2B Solution from the Shopify App Store.