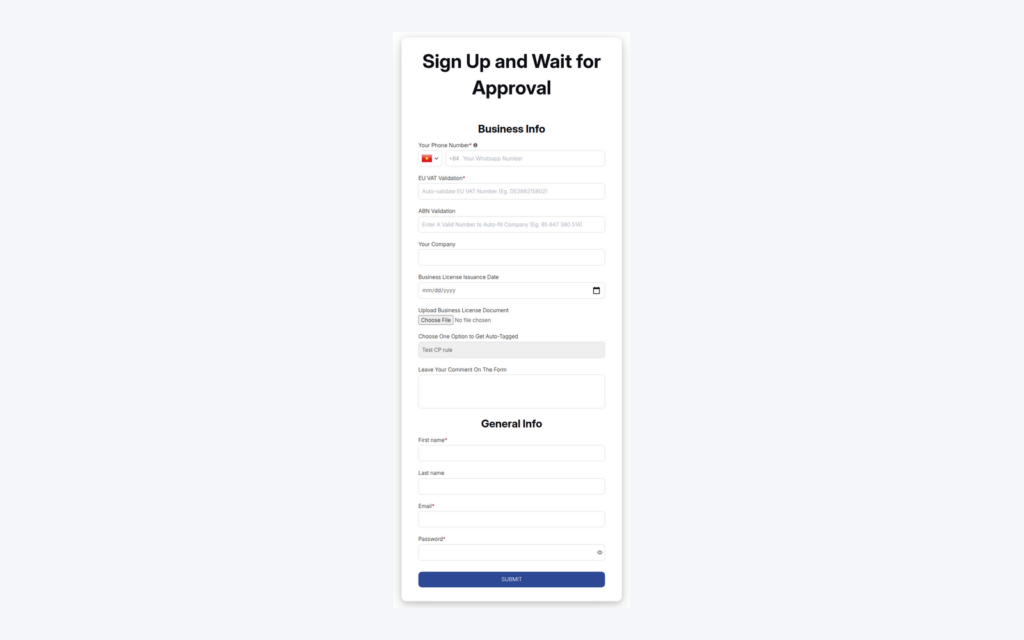
To run a wholesale application and approval process on Shopify, publish a registration form that collects the business details you need, choose manual or automatic approval, and let approval assign a customer tag. In BSS B2B Solution the tag you set in “Assign tag when customer is approved” is what your pricing, lock and order rules read, so wholesale prices reach approved buyers and nobody else.
Anyone can create an account on a Shopify store, so by default you cannot tell a qualified retailer from a consumer. A registration form with approval puts a checkpoint between the visitor and your trade prices, collects the paperwork you really need up front, and replaces the email thread that normally follows a “can I get wholesale prices?” message.
Who this is for
An application-and-approval flow suits you when:
- You sell to retailers, salons, cafes, contractors or other trade buyers and want to confirm who they are before they see trade prices.
- Wholesale enquiries arrive by email or phone with different levels of detail, and you chase missing information by hand.
- You need documents or numbers to qualify a buyer, such as a business certificate or a tax ID.
- You want an approved buyer to get access, prices and emails automatically, without you creating the account.
- You serve consumers and trade buyers on one store and need a clear line between them.
Why this matters
Qualification protects margin. A wholesale price shown to the wrong person is a discount you cannot take back, and a short application separates trade buyers from consumers who want a deal. It also saves your team time: one structured submission replaces three emails asking for a company name, a registration number and a delivery address.
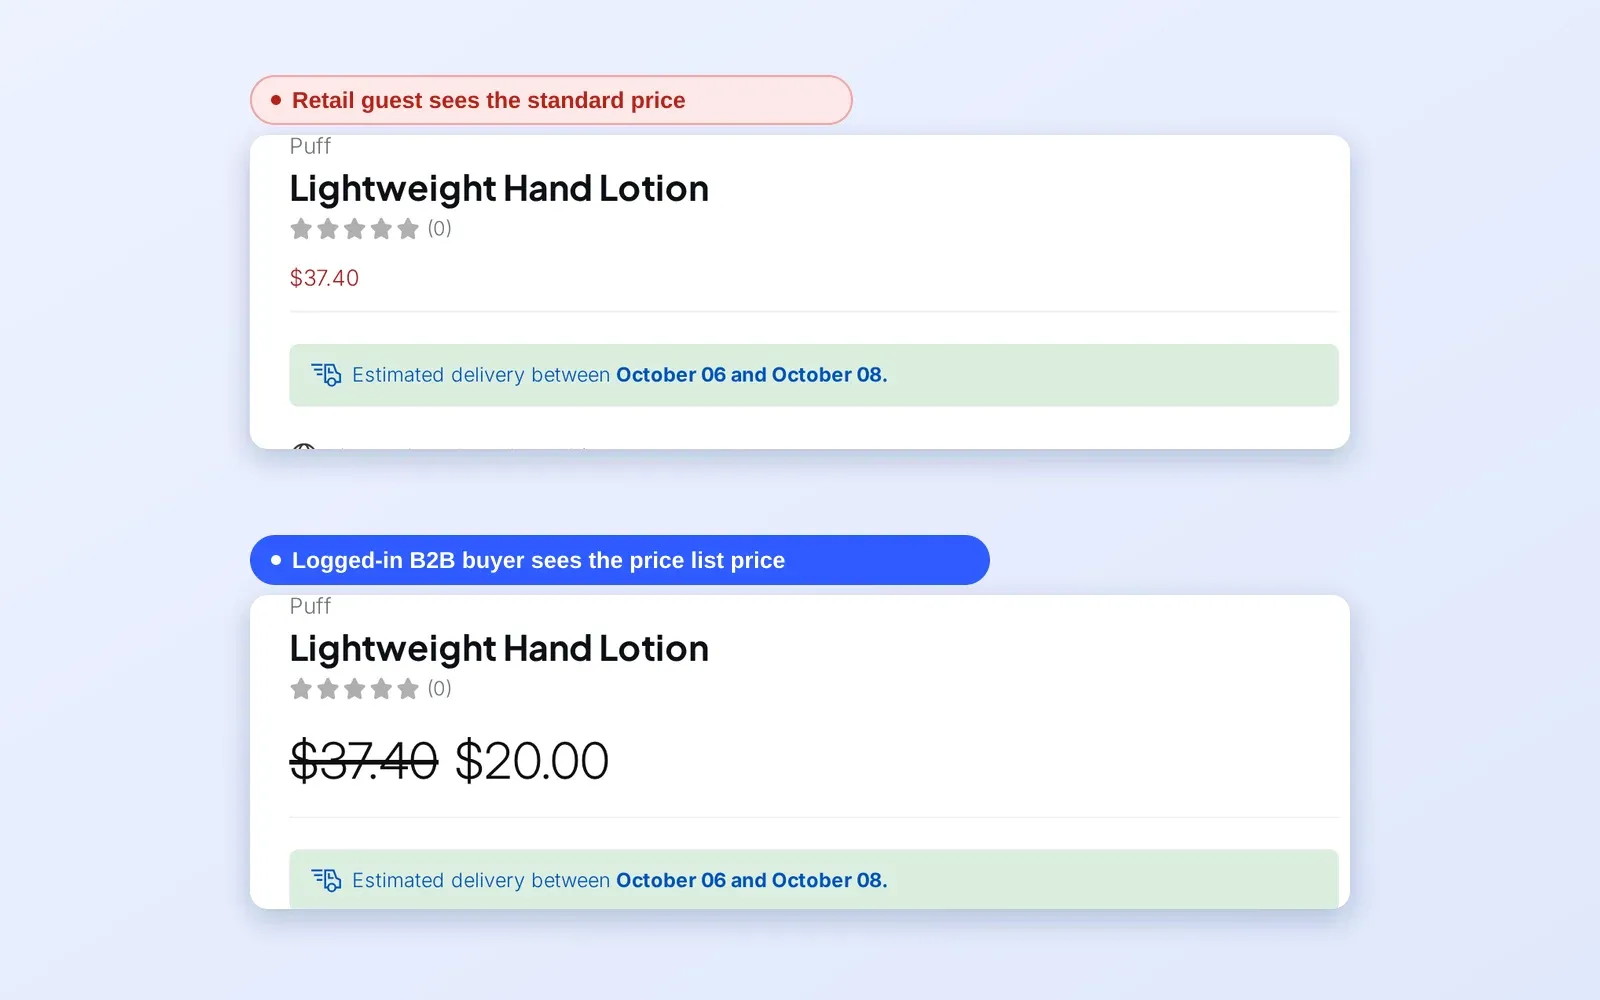
Approval is also the moment that ties everything else together. The tag it adds starts pricing rules, access rules and Auto Tags rules, so you design the onboarding once and every later step follows from it. A buyer who is approved today sees wholesale prices on the next page load, with no manual price change.
The case studies on this site show the effect. Walston Architectural Products, a US maker of architectural wall panels moving toward trade clients such as designers, architects and hospitality venues, customised its registration form so it also serves as its trade program sign-up; the case study reports a 150% increase in registration forms and 203 trade program forms filled out. PAN World Brands, a global distributor, used a customizable registration form to capture business credentials and purchasing intent at submission, so teams no longer followed up by email to confirm basic details. Read the Walston story and the PAN World Brands story.
What Shopify covers natively, and where an app helps
According to the Shopify Help Center (read on 2026-10-02), registration and approval of business buyers are not listed in Shopify’s B2B plan features. Our Shopify B2B guide explains the native side: companies, locations and catalogs that you set up for buyers you already know. BSS B2B Solution fills the front of that process with a form builder, an approval step, tags on approval and email notifications. See the customer onboarding hub for the surrounding guides.
How to set up the form and approval with BSS B2B Solution
Step 1: Create the form
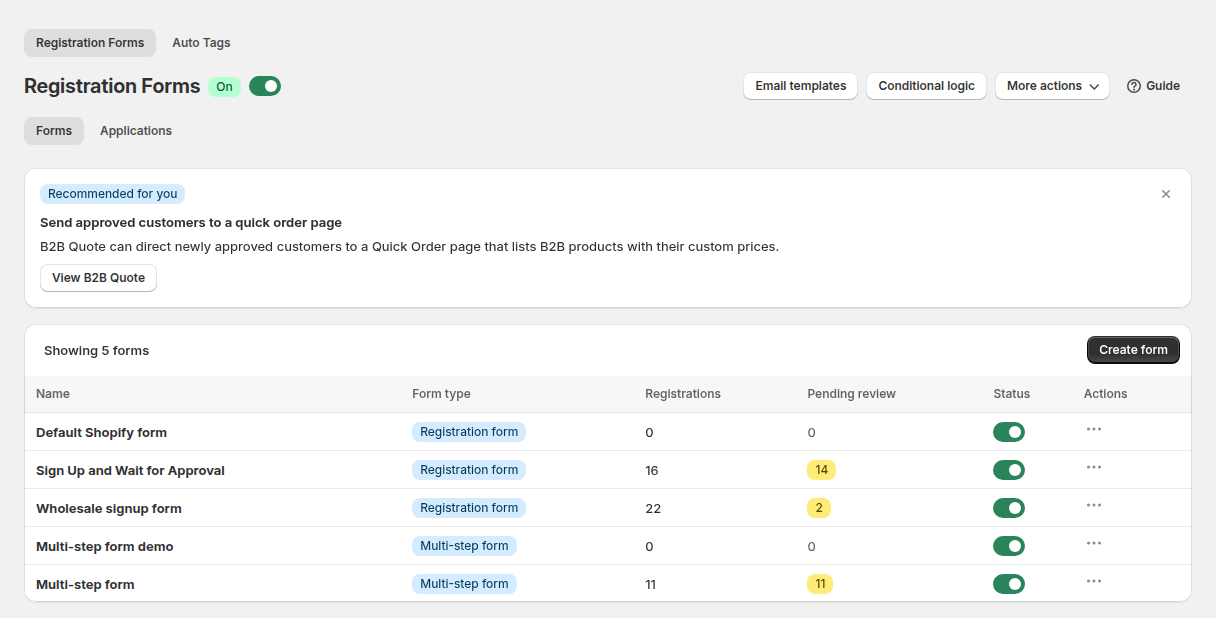
Go to B2B customers > Registration Forms, switch the module on and click Create form. Choose Wholesale registration form. In Basics, give the form a unique name and a URL handle, for example wholesale-apply; the form is published at /pages/wholesale-apply, so the handle must not be used by another page.
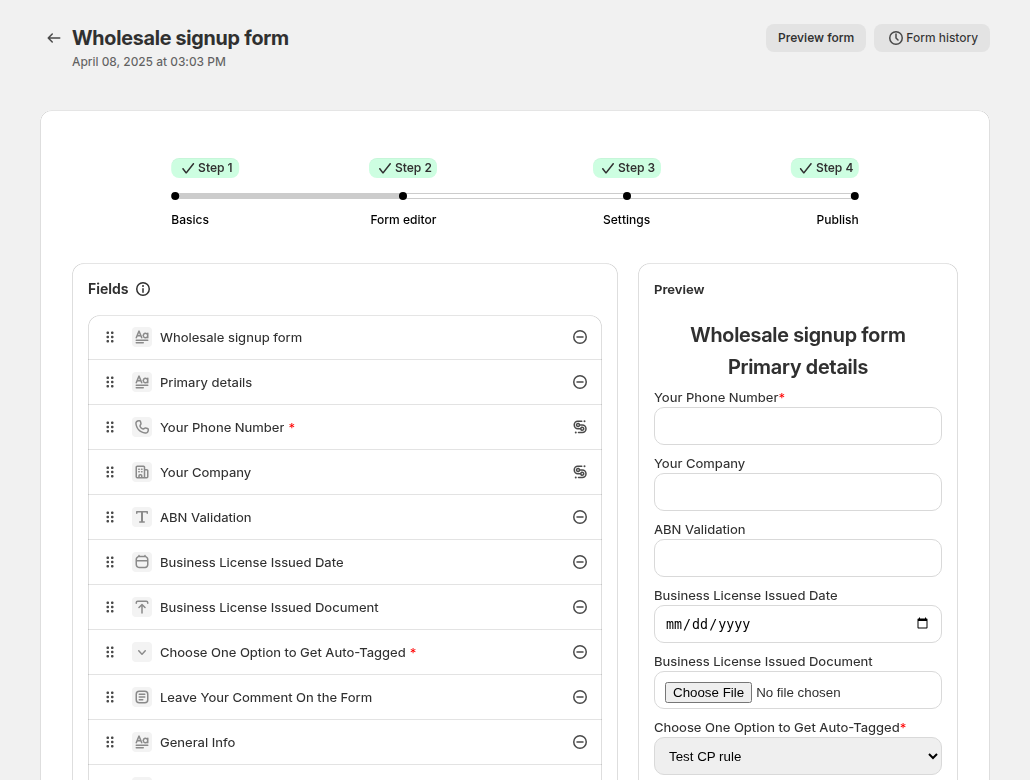
Step 2: Design the fields
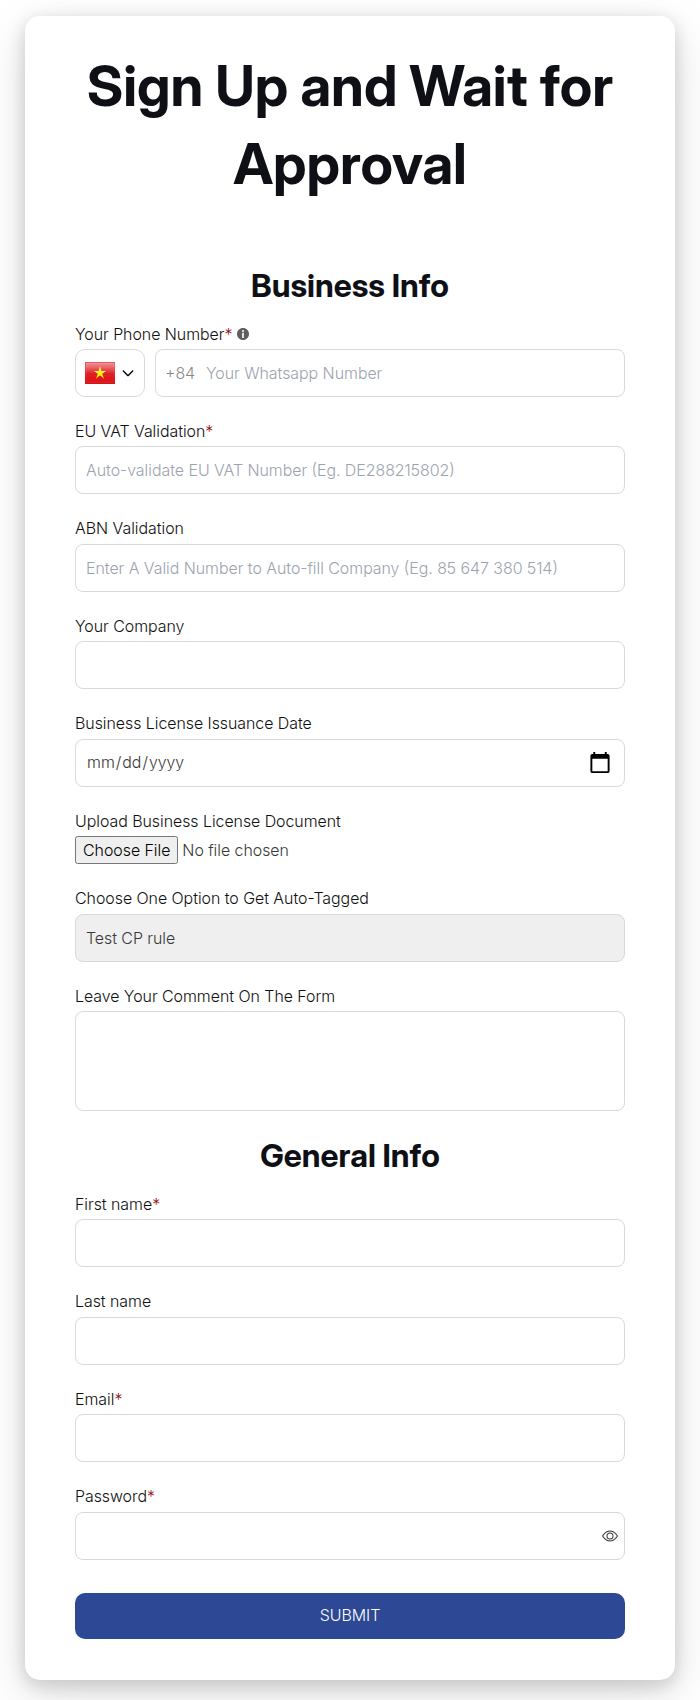
In Form Editor, drag in the fields you need and watch the live preview. First name, last name, email and password are always present. System fields include address, city, zip code, country, company and phone, and custom fields include text, text area, number, date, file upload, dropdown, checkboxes, radio options and headings. A tax ID field validates as the buyer types. Each field has a label, a required switch, help text and a width of 30%, 50% or 100%. Keep the first version short; you can add fields later.
Step 3: Choose approval, tags and notifications
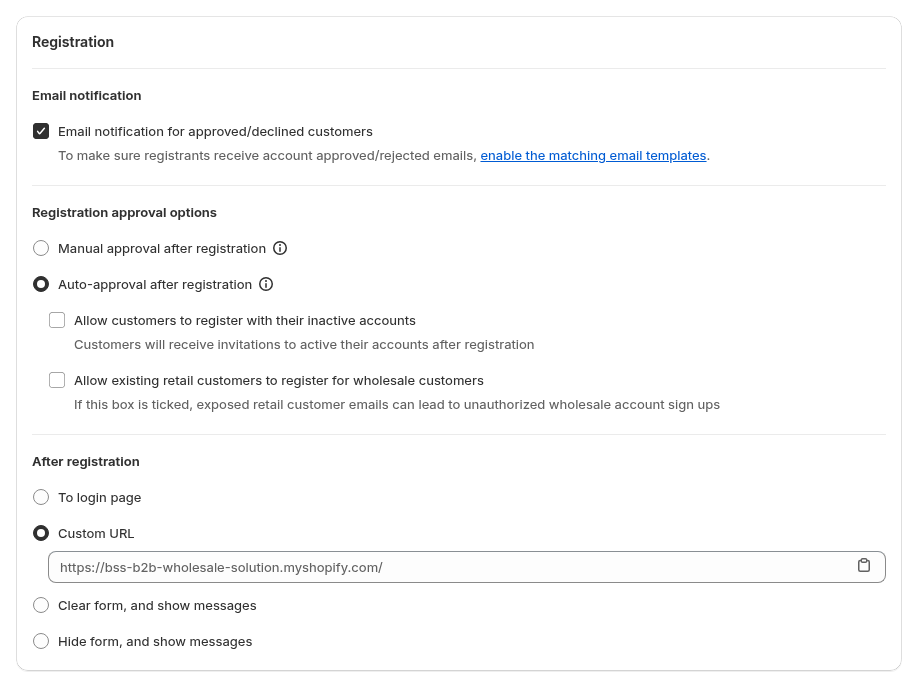
In Settings, pick Manual approval after registration (the application waits as Pending until you decide) or Auto-approval after registration (the Shopify customer account is created at once). With manual approval, Auto approve if email contains approves applicants whose email includes text you set, such as a partner domain. Turn on email notification for approved and declined applicants. In the Tags card enter the tag to assign on approval, for example wholesale.

Step 4: Add spam protection and choose what happens after submit
Tick Enable Google reCAPTCHA in the Spam protection card if you want it. Do not enable the app’s reCAPTCHA and Shopify’s own at the same time, because the form then does not work. Under After registration, choose what the applicant sees: the login page (auto-approval only), a custom URL, a cleared form with a message, or a hidden form with a message.
Step 5: Publish the form
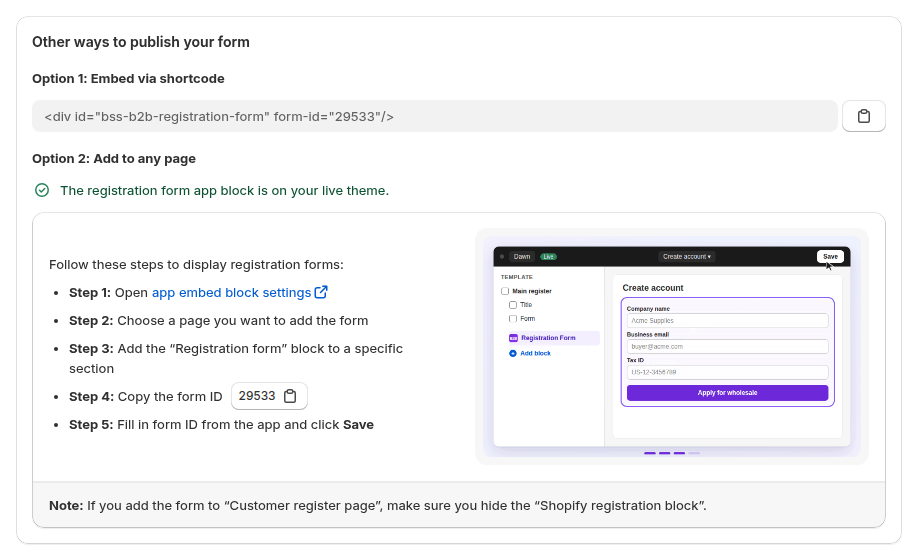
Saving the form creates a page at your form URL, so you can link to it from your menu. You can also place the Registration Form app block on any page of your theme with the form ID from the Publish step. Make sure the B2B Solution app embed is on; with it off, the page only shows a loading placeholder.
Step 6: Review and approve applications
Applications appear in Registration Forms > Registration management. You can search and filter by name, email, tag or status, preview uploaded files in a viewer, edit a field before approval (for example to fix a typo) and approve or reject one at a time or in bulk. On approval the app creates or updates the Shopify customer, applies the form’s tags, marks the customer tax exempt if the form says so, saves custom field answers as customer metafields and sends the approval email.
Example: a salon-supply distributor
This is an illustration with made-up details, not a customer result. A distributor of professional hair-care products wants to onboard salons.
| Stage | What happens |
|---|---|
| Form | Fields: salon name, address, phone, business type (dropdown), a file upload for a trade licence and a tax ID |
| Submission | The application appears as Pending; the owner gets an email |
| Review | The owner opens the record, previews the licence, and approves |
| Approval | The salon gets the tag salon, an approval email arrives, and a Price List rule for salon applies |
| Login | The salon logs in and sees its prices on the next page load |
A partner chain with a known email domain is set to approve automatically through “Auto approve if email contains”, so only unknown applicants wait in the queue.
Works well with
- Multi-step forms. A multi-step wholesale registration form suits long applications in Shopify’s new customer accounts.
- Documents and conditions. Conditional logic and document upload shows only the fields each applicant needs.
- Tax IDs. Verify a business tax ID at registration checks EU VAT, UK VAT, US EIN, ABN and GST numbers.
- Pricing. Wholesale price by customer tag is the rule the tag unlocks.
- Notifications. Approve and notify wholesale applicants covers statuses and emails in depth.
The glossary explains customer tag, trade account and tax ID.
Limits and common mistakes
- The same email cannot apply twice. If an application already exists for an email address, a new submission is blocked whatever its status, so reject carefully and plan how you will handle exceptions.
- Free plan limits. The Free plan has one form, without auto-approval, tax exempt on approval, reCAPTCHA or the privacy mandatory step, and tax ID fields do not show on the storefront.
- Auto approve if email contains is a plain text match. It is case-sensitive, so use it only for trusted domains.
- Existing retail customers. The option that lets existing retail customers register as wholesale lets anyone who knows a retail customer’s email sign that account up. Turn it on only if you review applications another way.
- Two reCAPTCHAs break the form. Use the app’s or Shopify’s, not both.
- New customer accounts. The old
/account/registerpage works differently with new customer accounts, so place the form on a dedicated page. - Version 1 forms are no longer supported. Use version 2 forms.
Setup checklist
- Decide what you must know before you approve a buyer, and ask only for that.
- Create the form, set a unique name and URL handle.
- Choose manual or automatic approval and the tag assigned on approval.
- Turn on notifications and review the email templates.
- Publish the page, link it from your menu and turn on the app embed.
- Submit a test application, approve it and check the tag and the email.
- Confirm that a pricing rule for the tag now applies to the test buyer.
Plans and requirements
The Free plan includes one registration form with limits. Paid plans give unlimited forms, custom fields, auto-approval, reCAPTCHA and tax ID fields; Advanced adds import and export of customer data, and Platinum adds conditional logic and the US EIN field. See the BSS B2B Solutions pricing page for current plan details.
You can install BSS B2B Solution from the Shopify App Store (4.9 rating from 1,185 reviews as of 2026-10-02, 14-day free trial on paid plans), read the app overview, or follow the guide to build a wholesale registration form and the guide to managing and approving applicants.