To set up a wholesale store on Shopify from scratch, get three things working before anything else: a way for buyers to apply, a customer tag that identifies approved buyers, and prices that follow the tag. With BSS B2B Solution you install the app, turn on the app embed, activate a first pricing rule from the onboarding guide, build a registration form that assigns the same tag on approval, and test the whole flow with a dummy buyer.
Starting small beats configuring everything at once. One live rule teaches you how the app behaves, and the same tag links every later step, so what you build first keeps working as you add modules such as quantity breaks, tax exemption or order limits.
Who this is for
This checklist is for you if:
- You are a Shopify merchant adding wholesale for the first time, with no B2B tools in place.
- Wholesale requests arrive by email or phone and you handle prices and approvals by hand.
- You want a repeatable first version of the process before you decide which advanced features you need.
- You sell to retailers, cafes, salons, contractors or resellers and want them to apply on your site.
- You do not want to write code, and you want each step to be testable in a private browser window.
Why this matters
A long feature list makes it hard to see which three things must work first. Merchants who try to configure pricing, tax, net terms, quotes and access control in one session often cannot tell which setting caused a problem when a buyer reports a wrong price. A smaller first version gives you a clean baseline.
A first buyer who can apply, be approved and see a price in the same visit is the proof that the model works. After that, each new capability is an increment you can test on its own. The alternative, handling wholesale in email, scales poorly: every approval and price quote depends on one person’s inbox.
The case studies on this site show the same pattern. Alpha Coffee, a roaster that moved from direct-to-consumer into wholesale for cafes, hotels and offices, describes early wholesale interest arriving by email and manual reviews, which made it hard to assign correct pricing. It used BSS B2B Solution to tag customer groups and assign prices, order limits and shipping rates by segment, and to send approval updates by automated email. Read the Alpha Coffee story.
What Shopify covers natively, and where an app helps
According to the Shopify Help Center (read on 2026-10-02), native B2B includes company accounts with locations and permissions, up to 3 catalogs on Basic, Grow and Advanced, payment terms, quantity rules and a quick order list. Our Shopify B2B guide explains when that is enough: your buyers fit into companies, you need three catalogs or fewer, and you do not need guest price hiding or quotes. An app helps when you serve retail and wholesale from one store, need more buyer groups than the catalog limit, or want to collect applications with tax ID checks, quotes or locked content. Registration and approval are not listed in Shopify’s B2B plan features, so a first wholesale store usually needs an app for that step.
How to set up a wholesale store with BSS B2B Solution
Step 1: Install and turn on the app embed
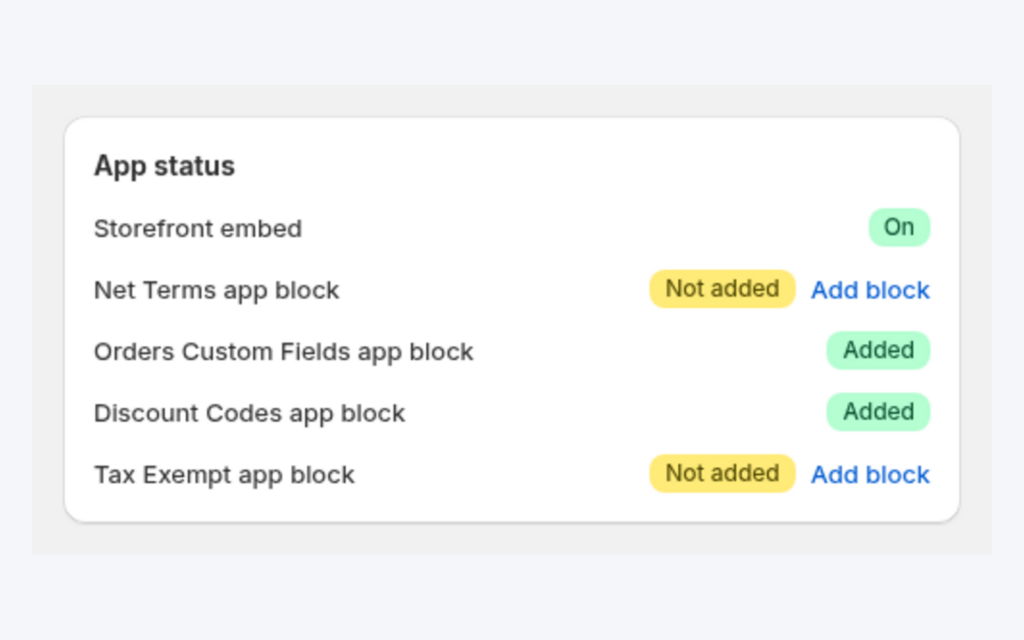
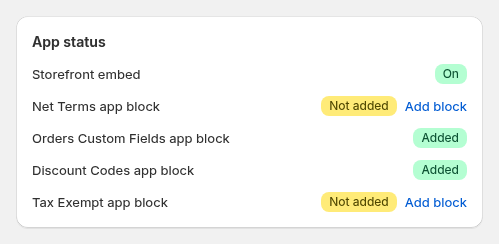
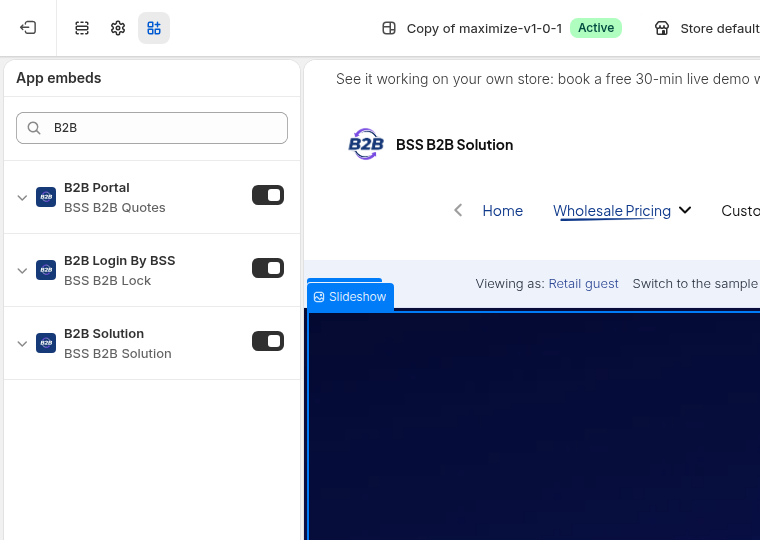
Install the app, then open the theme editor from the app home page and turn on the B2B Solution app embed under App embeds. Click Save. The App status card on the app home page shows whether the embed is enabled. Embeds are set per theme, so repeat this after you publish a new theme. If the embed is off, no rule shows on the storefront, and that is the most common reason a new setup looks broken.
Step 2: Use the onboarding guide for your first rule
The first time you open the app, a short guided setup asks what you need most: special prices for certain customers, wholesale registration and approval, orders on behalf of buyers, volume discounts, a price list per customer, tax display or minimum order quantities. Pick one and the app opens a pre-filled first rule with a name, a customer tag and a discount. Review it and click Activate rule. You can skip any step and use the regular menus later.
Step 3: Check the first rule as a buyer
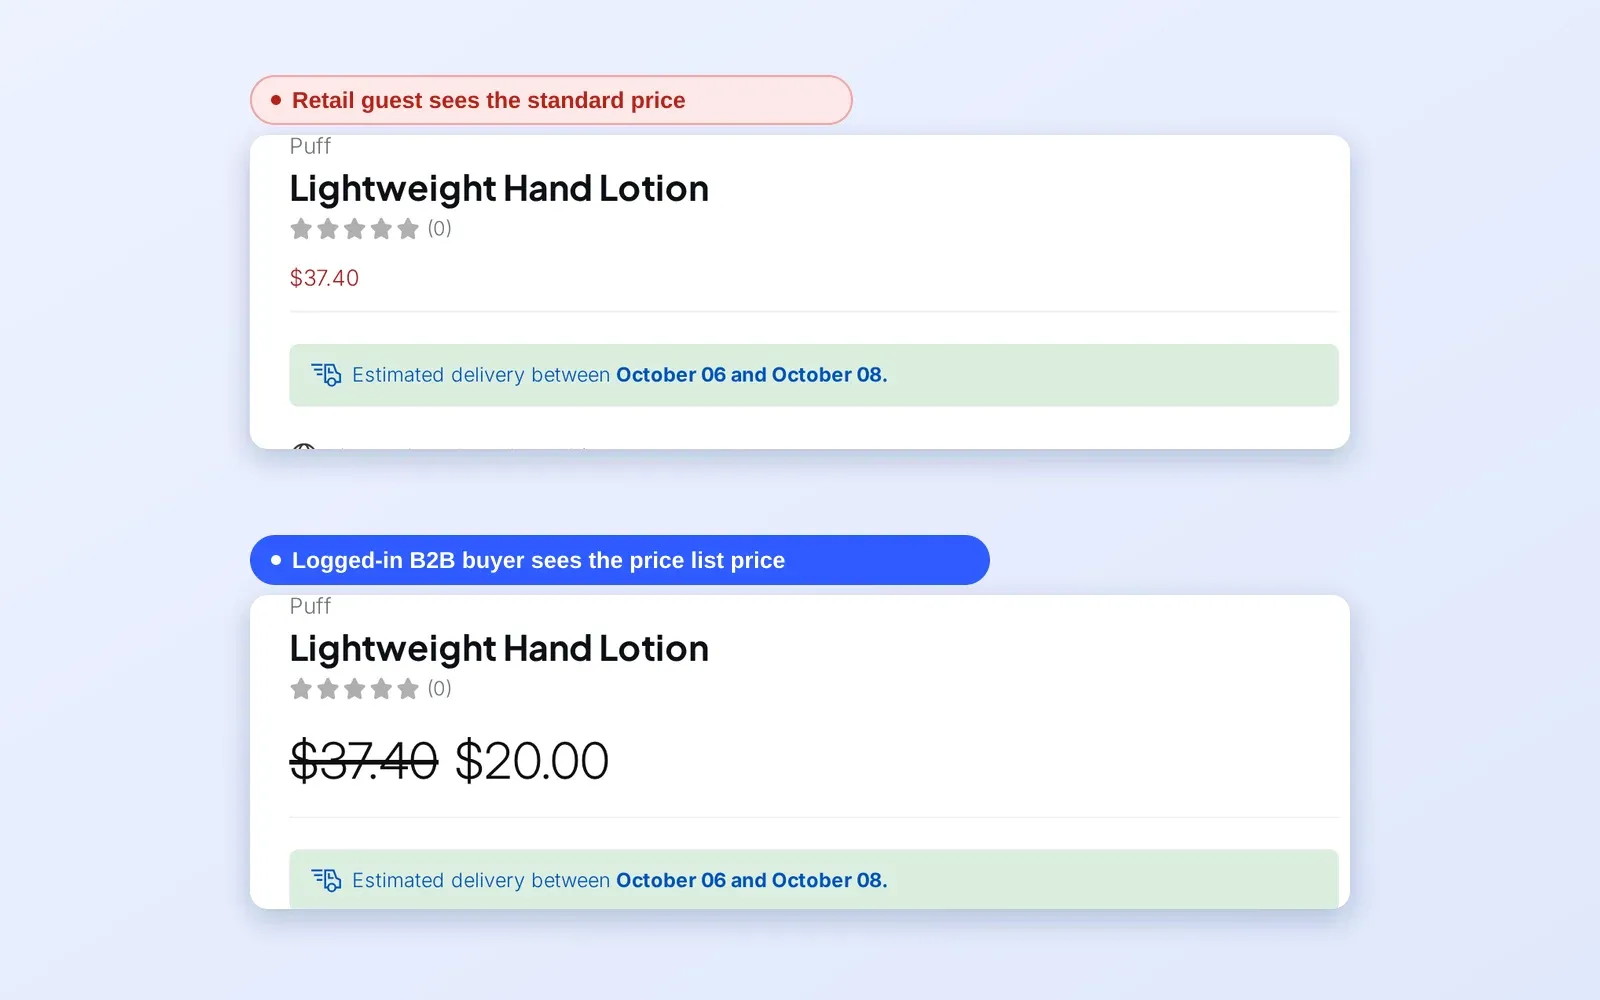
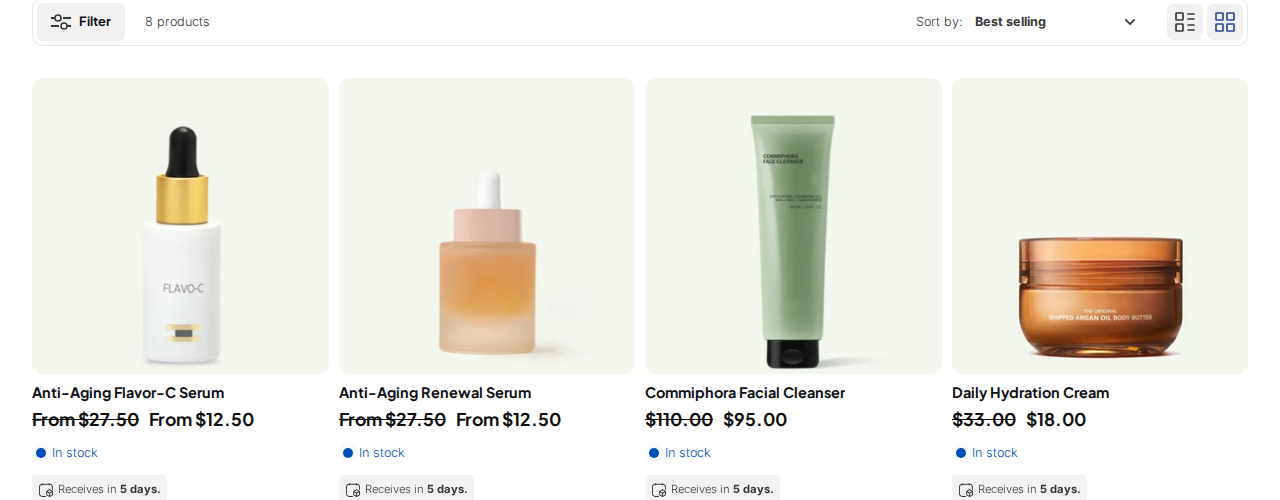
Tag a test customer with the rule’s tag in Shopify admin, log in as that customer in a private window and open a product. The wholesale price should appear next to the original price. Log out and reload to confirm retail visitors see normal prices.
Step 4: Build the registration form
Open B2B Customers > Registration Forms, create a form and add the fields you need, such as company, phone and a business-type dropdown. In the Tags card, set Assign tag when customer is approved to the same tag your pricing rule uses. Choose the approval mode and turn on email notifications so applicants hear back.
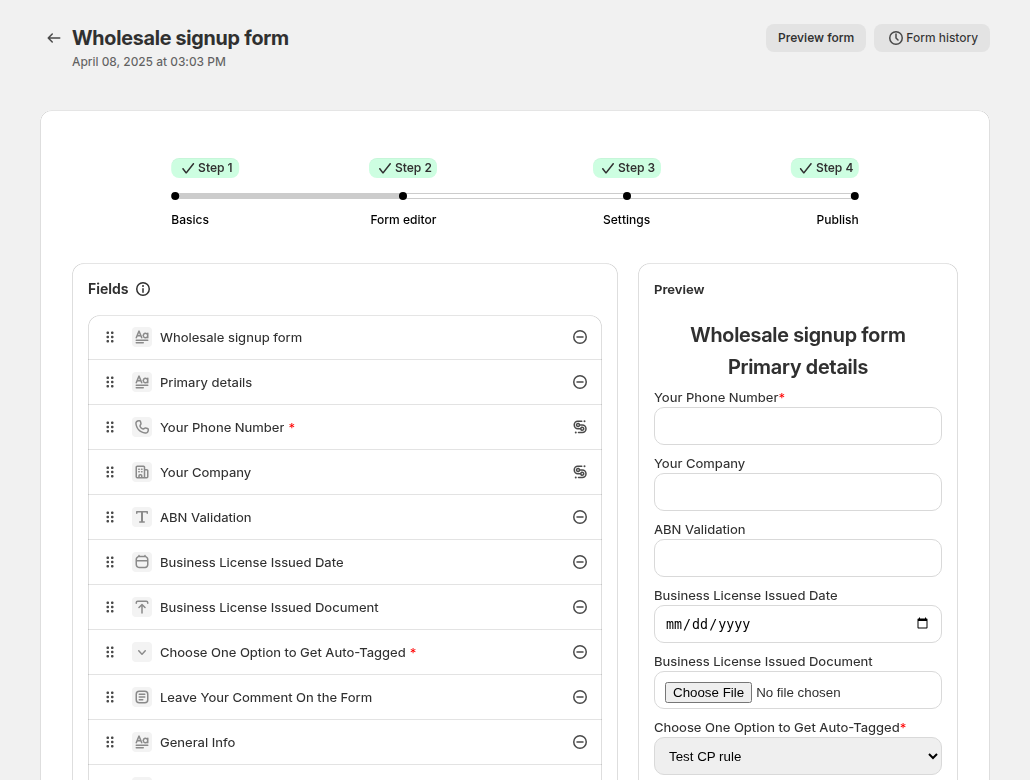
Step 5: Publish the form and link it
The form lives on a page of your store. Add it to your header or footer menu, for example “Apply for a wholesale account”. The registration form block also needs the form’s ID in the theme editor, so check that it points to your form.
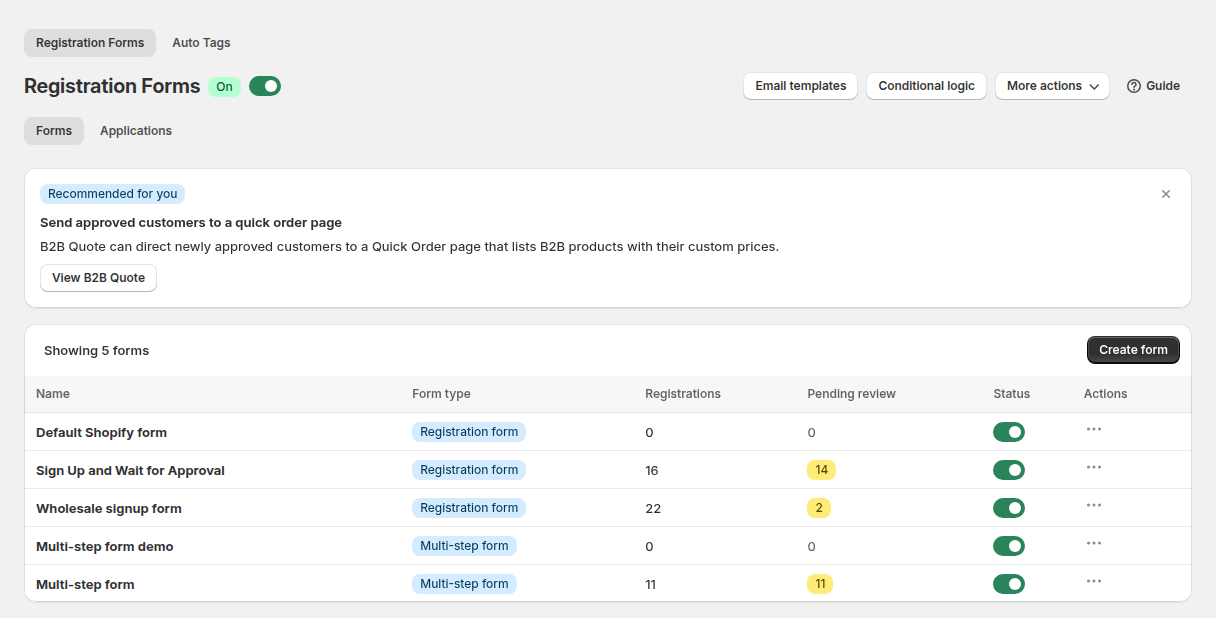
Step 6: Add Auto Tags if you need them
For accounts created some other way, or to tag by orders or spend, add an Auto Tags rule. The registration and order events can add or remove customer and order tags. Auto Tags covers new customers going forward, and the Apply to previous customers and orders option can tag existing ones.
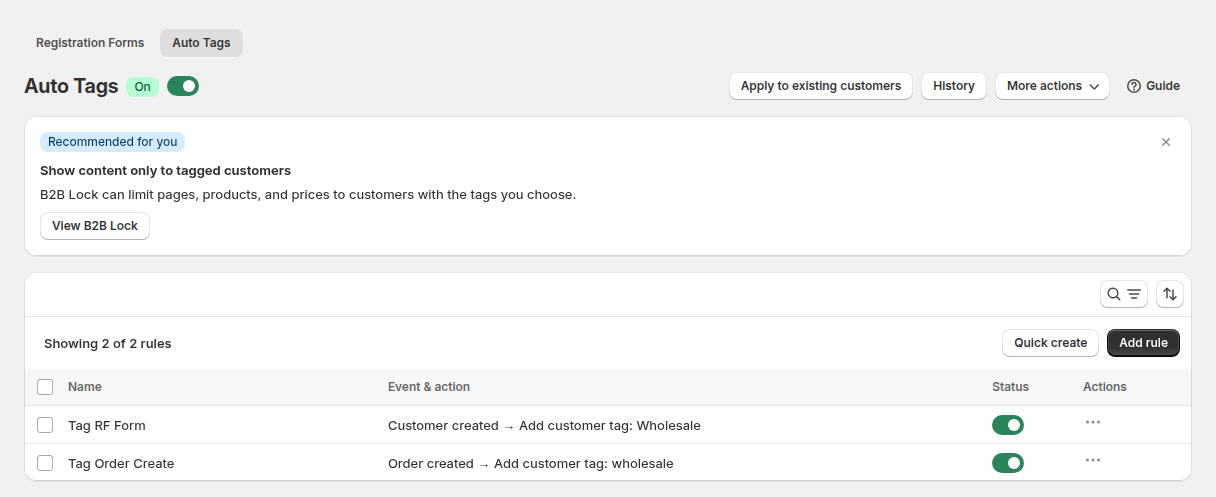
Step 7: Run the whole flow once
Register as a new applicant, approve the application in Registration Management, log in with the approved account and open a product. Prices should update after the next page load.
Example: a stationery brand opens a trade program
This is an illustration with made-up numbers, not a customer result. A stationery brand sells a notebook for $12.00. It runs the setup above, tests it with a dummy buyer, then opens the form.
| Step | What happens | What the buyer sees |
|---|---|---|
| Applicant submits the form | A pending record is created and the owner is notified | A confirmation or pending message |
| Owner reviews and approves | The customer gets the tag wholesale | An approval email, if notifications are on |
| Buyer logs in | A rule for the wholesale tag applies | $9.60 (20% off) with $12.00 struck through |
| Buyer adds 24 notebooks | The cart uses the wholesale price | $230.40 for 24 |
Everything after the form is driven by the single tag. When the brand later adds Volume Pricing for case quantities, it targets the same tag.
Works well with
- A single tag for pricing. Wholesale price by customer tag covers the first rule in depth.
- Approval. A wholesale registration form with approval goes further on fields and notifications.
- Retail and wholesale. B2B and B2C on one Shopify store covers keeping both audiences on one catalog.
- Next modules. The Shopify B2B guide’s six hubs, from wholesale pricing and customer onboarding to tax and compliance and order rules and terms, tell you what to add next.
Useful glossary terms are customer tag, trade account and wholesale price.
Limits and common mistakes
- The app embed is off. New rules will not show on the storefront until the embed is on and saved in the live theme.
- Different tags in different places. Use one tag name across the form, Auto Tags and pricing rules. Matching ignores capitalization and spaces, but a typo does not match.
- Testing in a logged-in browser. Use a private window and a dedicated test customer.
- Free plan limits. The Free plan includes one Custom Pricing rule and one registration form, so check the pricing page before you add more.
- New tags show after a reload. A tag added moments ago takes effect when the customer reloads the page.
- Do not add everything at once. Add one module at a time and test it.
Setup checklist
- Install the app and turn on the B2B Solution app embed in the live theme.
- Finish the onboarding guide, or create one Custom Pricing rule yourself.
- Tag a test customer and confirm the wholesale price.
- Build a registration form and set the approval tag to the same tag.
- Link the form from your menu.
- Add Auto Tags if you need tags from orders or other sources.
- Approve a test application and log in with it.
- Write down which module you will add next.
Plans and requirements
You can start on the Free plan, which includes one Custom Pricing rule and one registration form, and move to a paid plan when you need unlimited rules, forms with custom fields or other modules. Paid plans add unlimited forms, custom form fields and Auto Tags; Advanced and Platinum add further modules. See the BSS B2B Solutions pricing page for current plan details.
You can install BSS B2B Solution from the Shopify App Store (4.9 rating from 1,185 reviews as of 2026-10-02, 14-day free trial on paid plans), read the app overview, or follow the onboarding guide and the guide to setting up a wholesale store from scratch in the docs.